Looking for a guide on hiking the Inca Trail to Machu Picchu? In this article, I will walk you through EVERYTHING you need to know to make this once-in-a-lifetime experience happen.
After recently completing this trek, I have a ton of tips on the best way to plan, prepare, and book this hike to one of the 7 wonders of the world.
So whether you’re still in the rough stages of planning this trip, or you’re simply wondering whether this trek is for you, sit back, grab a beer (or two) and keep on reading as I share our experience on how to plan a hassle free Inca Trail hike to Machu Picchu.
You see, ever since I was a kid, I’ve always wanted to see Machu Picchu.
I remember being around 7 years old, sitting down on the floor in my Uncle’s room, “reading” his National Geographic magazine.
I remember spending ages just staring at the photo of Machu Picchu, thinking to myself, is this even real? How can a place like this exist?
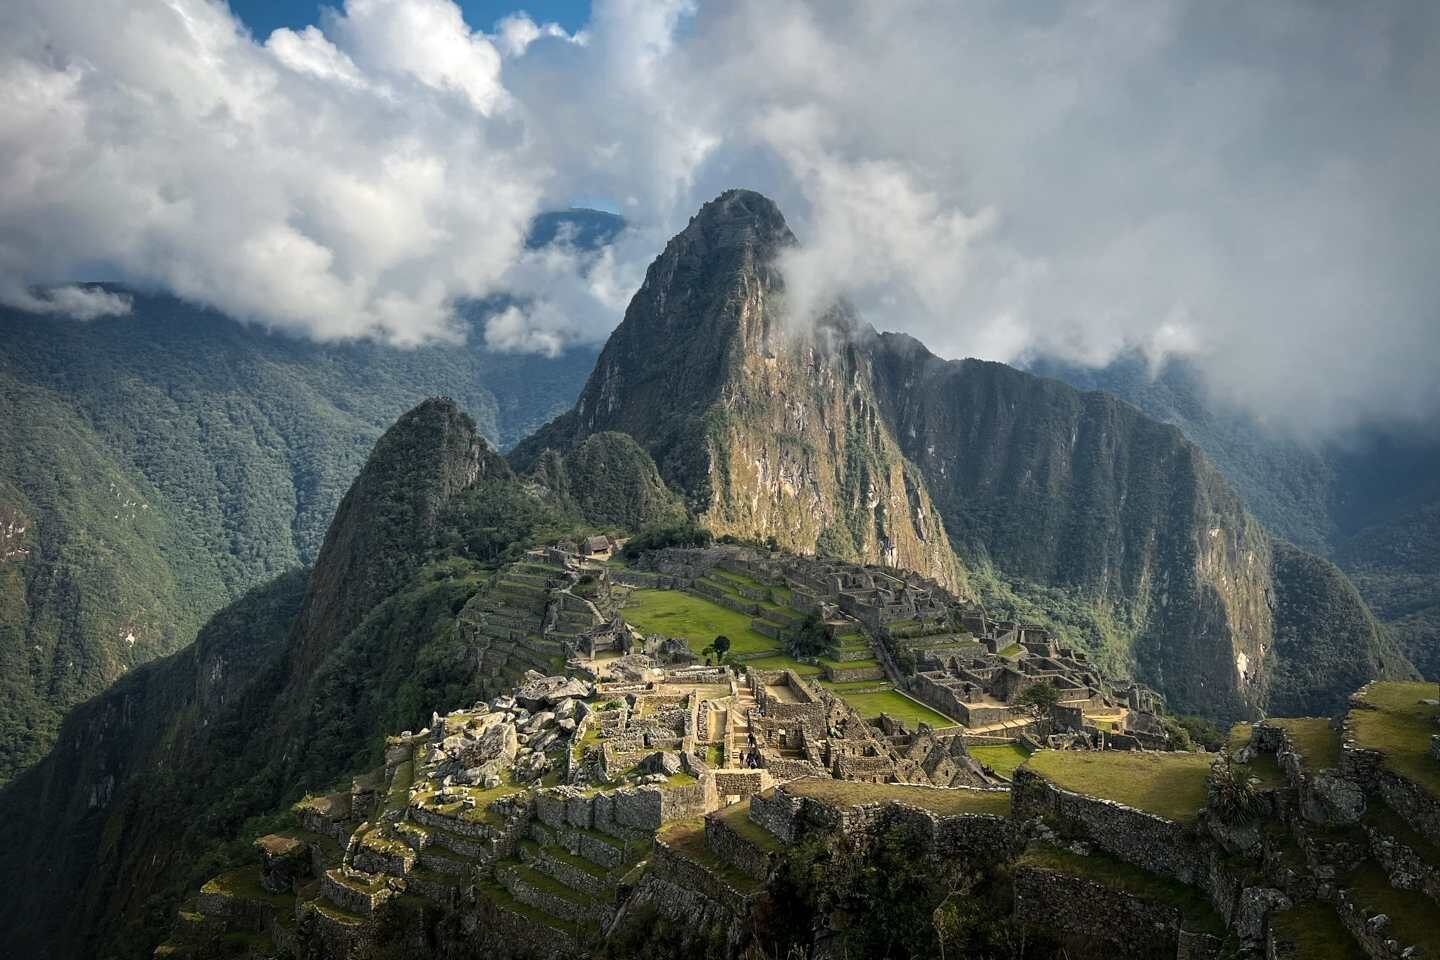
Many years later, after spending 4-days hiking the Inca Trail, I finally stood before Machu Picchu, feeling like that 7 year old child again.
In awe, amazement, and wonder.
View Contents
- Inca Trail to Machu Picchu
- Best Time of the Year to Hike the Inca Trail
- Inca Trail to Machu Picchu: Permits and Bookings
- Classic 4-Day Inca Trail Itinerary
- Inca Trail Map
- Day 1: Cusco- KM 82- Ayapata Campsite
- Day 2: Ayapata – Dead Woman’s Pass – Runcuraccay Pass – Chaquiccocha Campsite
- Day 3: Chaquiccocha – Phuyupatamarca – Wiñaywayna Camp
- Day 4: Machu Picchu
- How Much Does it Cost to Do the Inca Trail?
- Choosing a Tour Company for the Classic Inca Trail
- Alpaca Expeditions Review: Why We Chose Them
- Preparing for the Inca Trail to Machu Picchu
- What to Pack for the Inca Trail
- FAQ on the Inca Trail to Machu Picchu
Inca Trail to Machu Picchu
So first things first…what exactly is the Inca Trail?
The Inca trail or the Camino de Inca is one of the most popular hiking trails in the world. It consists of walking along an ancient footpath, carved out of the mountains by the Inca people.
You can walk the Inca trail to Machu Picchu in 2, 4, 5, or 7 days. However, in this hiking guide, we will only be talking about the classic 4-day Inca trail, which is the most popular one.
The Inca Trail takes you through steep valleys, lush forests, jaw dropping ancient Inca sites, and finally, of course, the pinnacle of the entire trek, Machu Picchu.
For me, the best thing about the entire trek was seeing the ancient Inca sites that are only accessible to those who are hiking by foot. We were able to enjoy a lot of these amazing sites with the company of only a handful of other trekkers.
The history behind each site was nothing short of fascinating and learning about the Incan empire and seeing it all first hand was incredibly humbling.
Best Time of the Year to Hike the Inca Trail
The weather in Peru can be classified into two sections. Dry season (April – October) and Wet Season (November-March).
When it comes to hiking the Inca Trail, the most popular months fall in June, July, and August which is Peru’s Winter time.
During the Winter months, days are relatively warm, nights are cool, and there is less rain and fog, making it ideal for hiking.
However, with that being said, these “dry” months can also be extremely busy.
If you are planning on doing the Inca Trail during these months, we recommend you make reservations months in advance as they get booked up in advance.
If you want to avoid the crowds, the last few weeks of March, April, May, September, October, all the way to early November are still good times to hike as these months fall before and after the rainy season.
Late November, December, and January fall under Peru’s rainy season. During these times, hiking the Inca Trail isn’t recommended due to the amount of rainfall- however many people still do the hike from November all the way to December.
During the month of February, The National Sanctuary of Machu Picchu closes the Inca Trail so they can replace bridges, clean out campgrounds, and more.
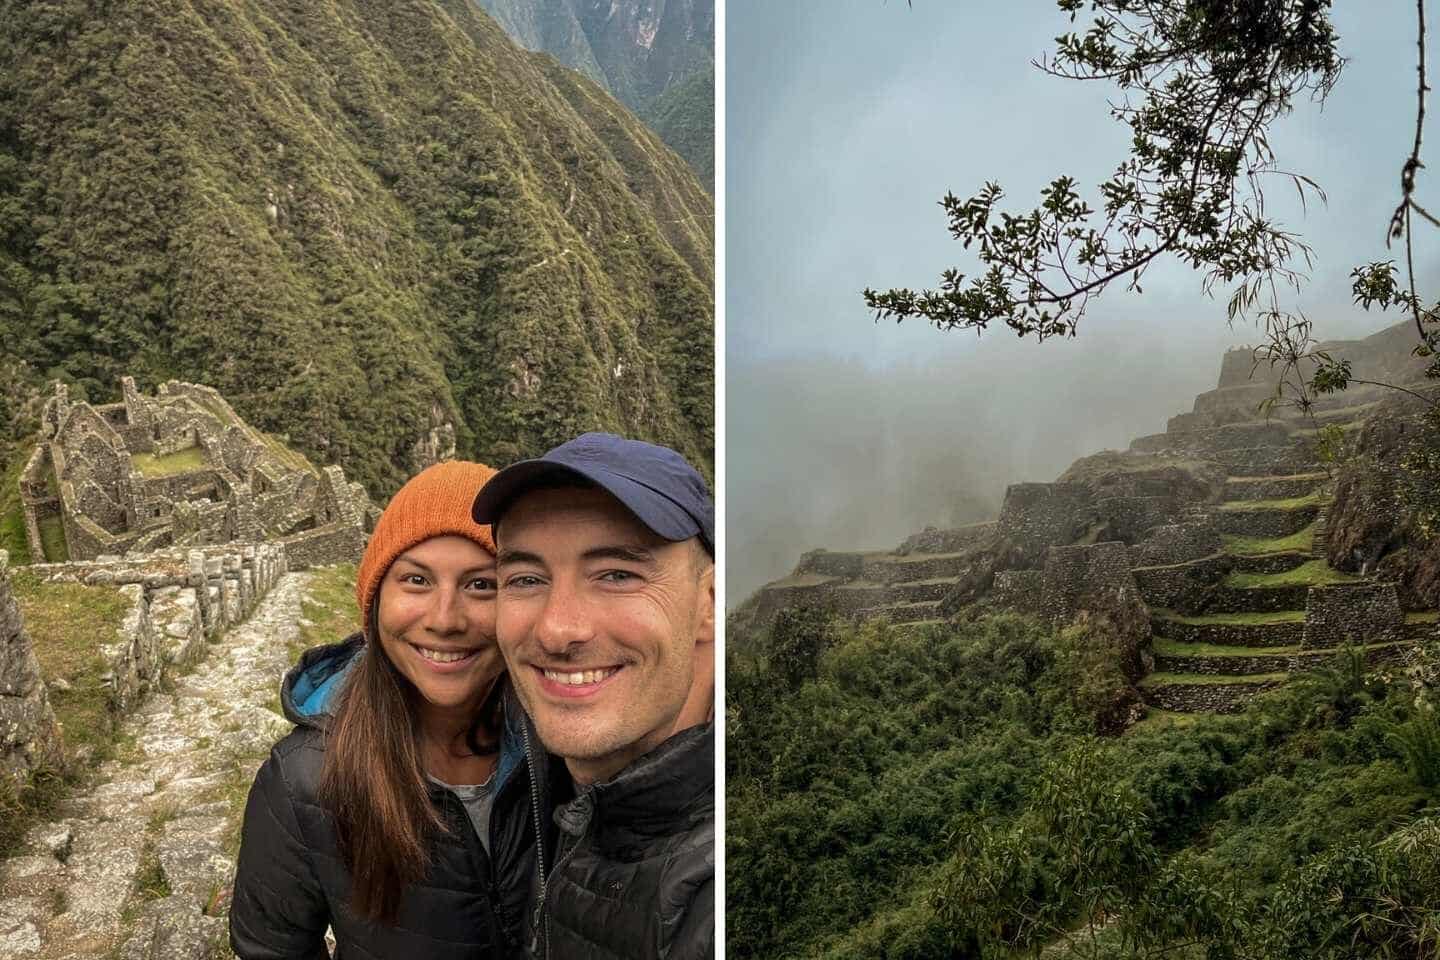
We personally hiked the Inca trail to Machu Picchu at the end of October and had perfect weather throughout the hike. It was warm during the day but cool during the nights and although we had some fog and clouds, it all added to the dramatic appeal of walking through the Andes.

Inca Trail to Machu Picchu: Permits and Bookings
After being rediscovered in 1911, Machu Picchu was declared as a UNESCO World Heritage site in 1983. Since then, thousands of people began hiking the Inca trail, with erosion and trash becoming major threats to this ancient footpath.
To combat this, in 2000, the Peruvian government implemented a ticketing system which only allows 500 people per day access to the Inca Trail (around 200 permits for tourists and 300 for porters and guides).
Getting a trekking permit for the Inca Trail is only possible with licensed Inca Trail operators which means it isn’t possible to do this trek independently.
We chose to book our Inca trail to Machu Picchu with a Peruvian owned local company called Alpaca Expeditions. The owner and director of the company, Raul Ccolque, used to work as porter before becoming a licensed tour guide, before eventually setting up his own business.
We personally met him during our trek introduction and were honestly so impressed by everything he has built.
They’ve been awarded by the World Travel Awards as Peru’s Leading Tour Operator three years in a row now. Backed with a stellar record of 5 star reviews from travelers all over the world, we knew we were in good hands.
Another reason why we opted to book with them is their commitment to ethical treatment of their porters and guides, as well as their sustainability practices which I will go into detail later on in this article.
Recommended Partner
Alpaca Expeditions is a locally owned tour operator that is known for their ethical treatment of porters and guides. We booked our Inca Trail with them and are 100% satisfied with our experience. Click below to find out more.
Booking Your Inca Trail Tour in Advance
Due to the limited number of permits and treks, it is advisable to book your permits 3-6 months in advance.
However, with that being said, during the busy months of June, July, and August, we know some people who book a year in advance.
Alpaca Expeditions have a 99% success rate of helping their customers get the permit dates that they want with advance planning. We booked our trip with them 3 months before our ideal trek dates and they were able to secure our permits with ease.
They recommend having at least 3 ideal trekking dates before booking that way, you have other options.
Along with the Inca Trail permit to hike the Inca Trail itself, you will also need a separate ticket to visit the iconic Machu Picchu.
The great thing about Alpaca Expeditions is that all Machu Picchu tickets are included in the trek price, plus they take care of securing the tickets which is one less thing to worry about.
Insurance for the Inca Trail
We ALWAYS encourage people to get travel insurance, especially when doing a big trip like this. Our two recommendations are World Nomads and Safety Wing. We personally use Safety Wing as our own travel insurance all-year round since we travel full time.
Since the Inca Trail involves high altitude hiking, I suggest you double check the fineprint before taking out a plan as usually there is an altitude limit when it comes to insurance coverages. Click the buttons below to get a free quote.
Psst...Want in on a Secret? 🤫

We've scoured the internet for the best ALL-AROUND travel shoe and Tropicfeel wins by far. We've taken ours through rivers, jungles, and cities and they're still alive and kickin'. Check them out below.
Classic 4-Day Inca Trail Itinerary
Now that we have some of the booking details out of the way, let’s talk about the actual itinerary of the classic 4-day Inca trail hike.
Like most 4 day / 3 night Itineraries, you start your journey in Cusco before traveling to the KM 82 in the Sacred Valley.
If you are already in the Sacred Valley (Ollantaytambo), you can do your pick up from there. This is what we did and it allowed us to sleep in a little bit longer on the night of our trek.
We recommend that you arrive in Cusco 3-4 days before your trek to give you time to acclimatize. If you can, even do a few acclimatization hikes around Cusco and the Sacred Valley area- it will massively help you during your trek!
A few days before your trek, you will also be attending a briefing in the Alpaca Expeditions headquarters in Cusco. Here, you will meet your guide + the other people in your team and get all the necessary information that you will need for your trek.
Below, I will go over the rough itineraries of each day and give you an idea of what to expect. Please note that this itinerary is the one we followed when we booked with Alpaca Expeditions, some tour groups have different campsites and itineraries!
Inca Trail Map
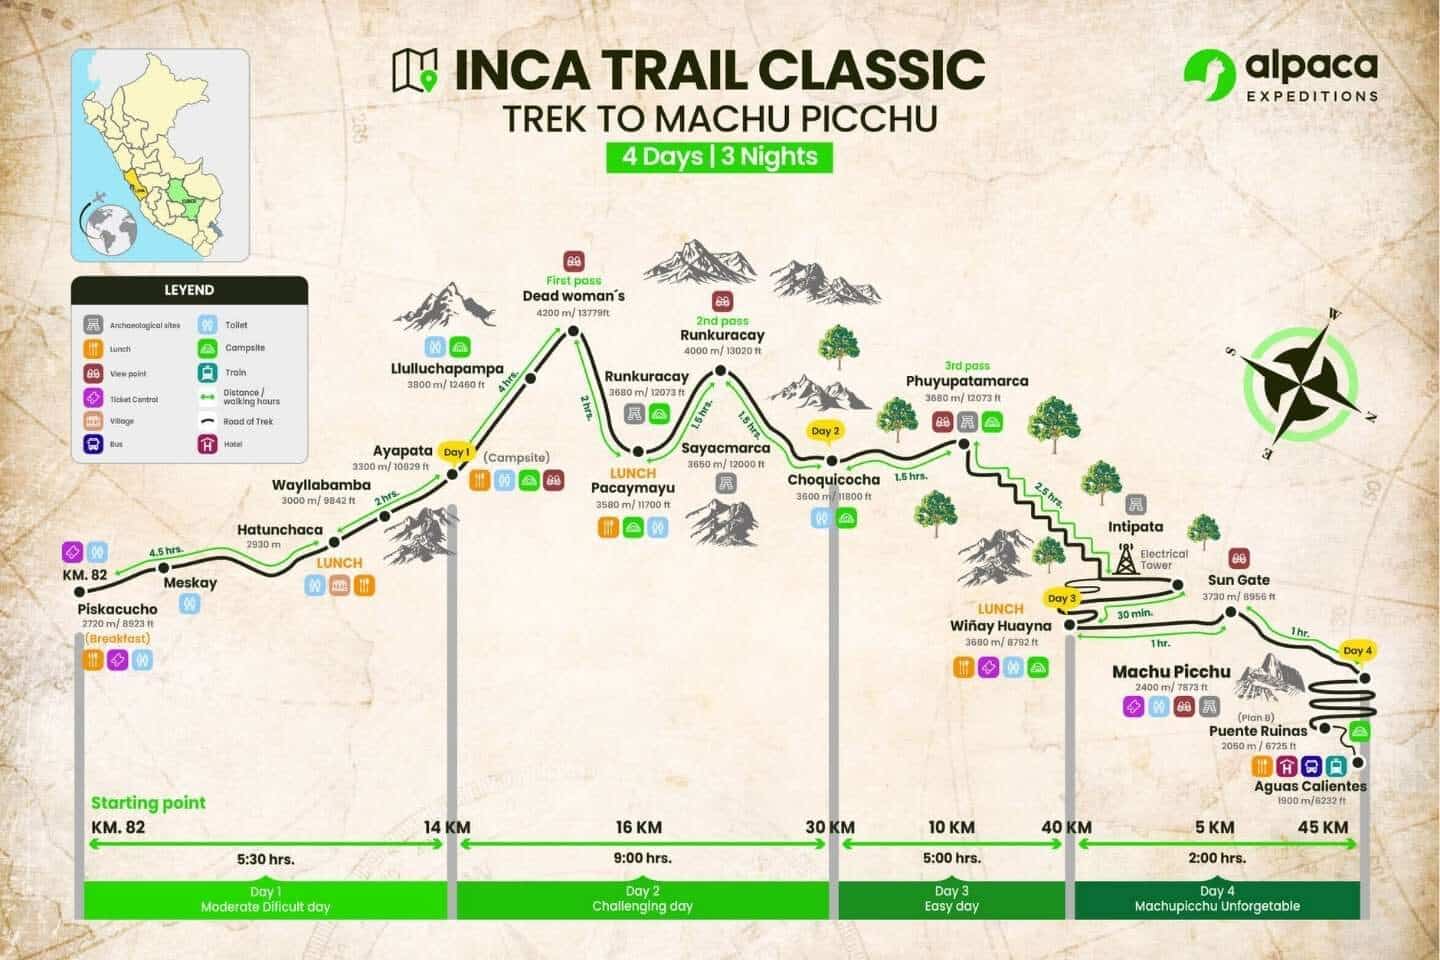
Below is a fantastic map created by Alpaca Expeditions which gives you an overview on what the Inca Trail itinerary looks like.
Day 1: Cusco- KM 82- Ayapata Campsite
- Walking Distance: 14km / 8.7 miles
- Time: Approximately 6-7 hours
- Campsite Altitude: 3300m
If you’re starting from Cusco, expect to get picked up from your hotel around 4:00-4:30 in the morning. As mentioned, we opted to spend the night in Ollantaytambo which meant we were picked up at around 6:00 AM.
From there, we headed to Alpaca Expeditions porter house to have breakfast before we set off for the trek. From here, we made our way to the first Inca Trail checkpoint. This is where trail permits and passports were checked.
Our guides, Fletcher and Nancy handled everything so all we really had to do was stand in line and give our passports for verification. After that, we were off!
There were a total of 10 people from different parts of the world in our little trekking family (Team Mark!) which made the dynamics of our trek really fun. During the first day, the hike is very manageable, especially if you spent time acclimatizing before your trek.

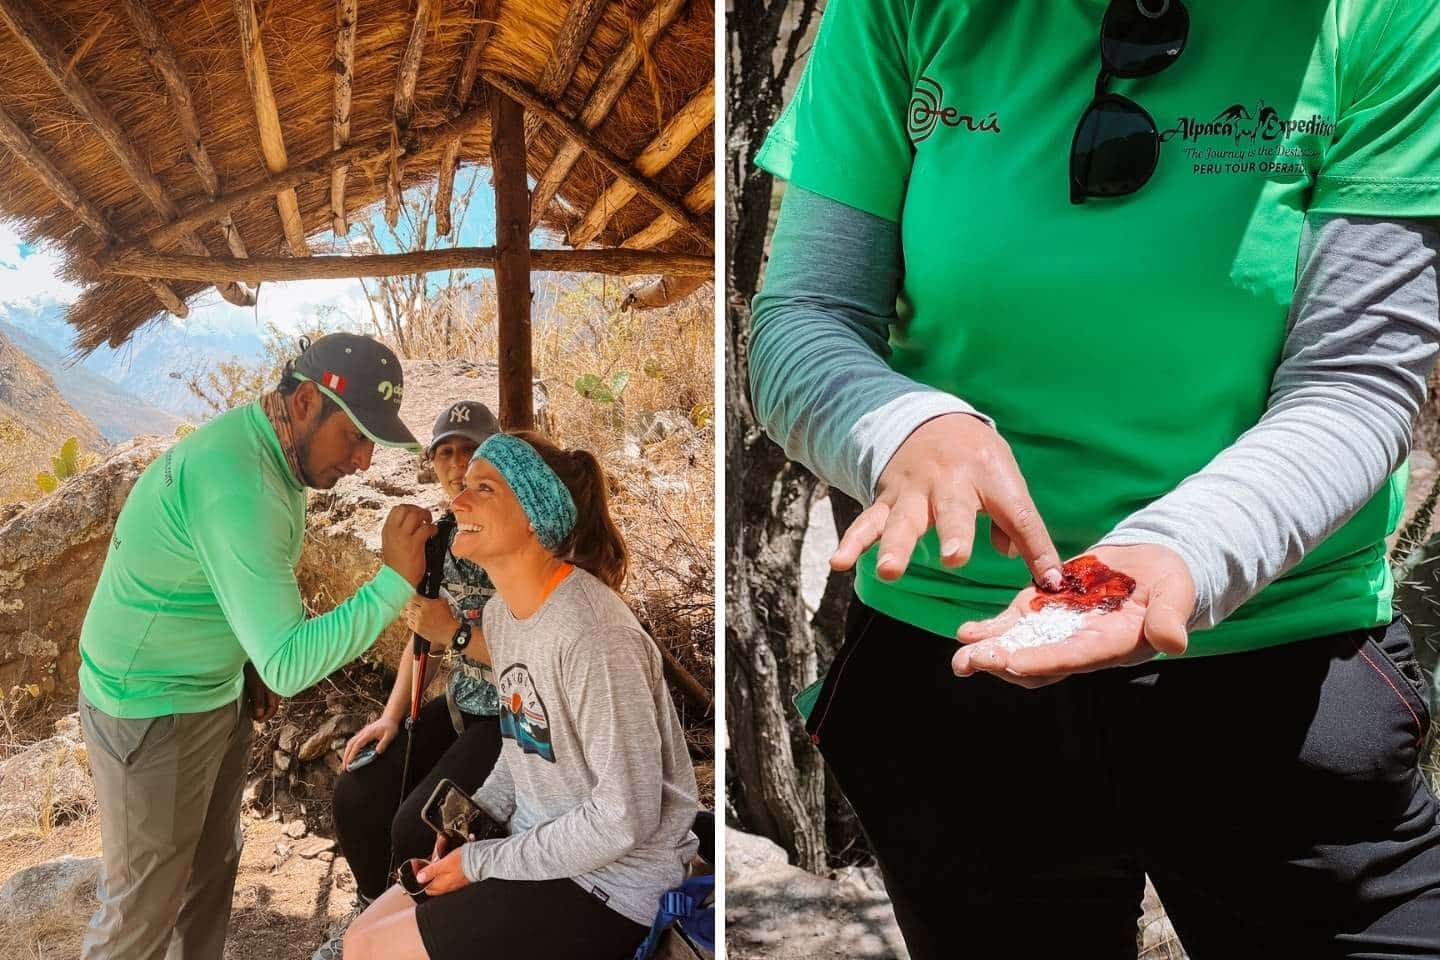
You spend the first two hours of the Inca trail walking to an Inca Site called Patallacta. Along the way, our guides showed us interesting plants which locals would use to dye their textiles. From there, it’s another 2 and a half hours of hiking until lunch.
When we got to our lunch spot, our porters had everything ready. A food tent, little basins of hot water and soap to wash our hands, plus a wide array of dishes.
While I read A LOT of reviews saying the food with Alpaca Expeditions was good- it was honestly better than expected! We arrived in our tent with 6-7 different dishes to be shared family style.
Each dish was delicious and was complete with garnishing and presentation.
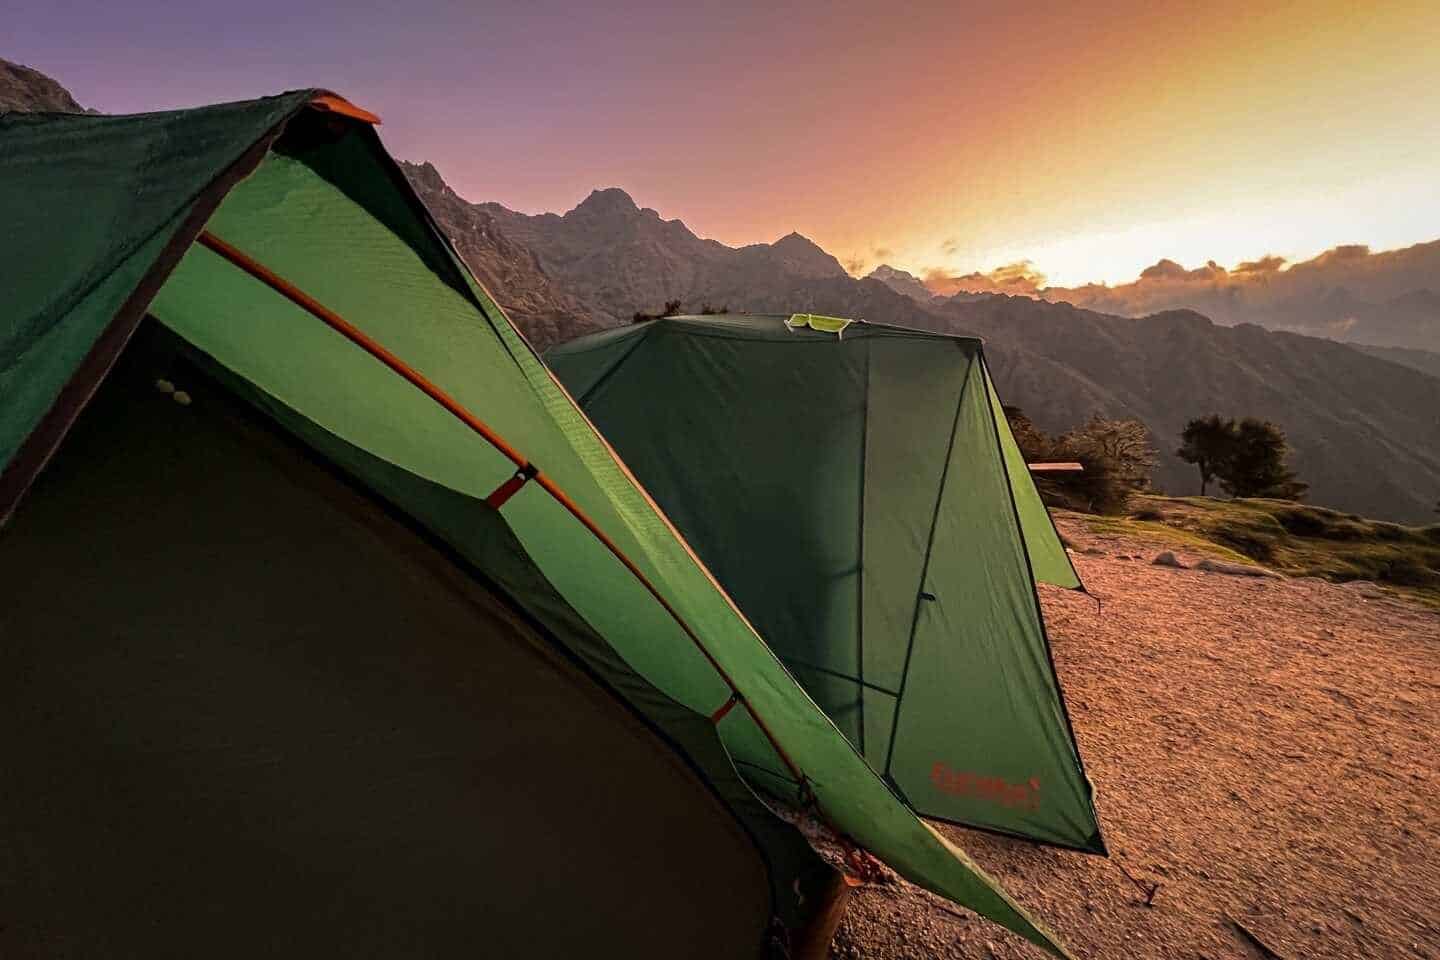
After lunch, it was another relatively easy 2 and a half hour walk to the campsite where our porters had our individual tents set up. We arrived at the campsite a little bit past 5:00 PM and had plenty of down time before dinner.
Day 1 Difficulty Level: Easy to Moderate
As mentioned, I think this day was relatively easy-moderate with gradual inclines. If you’re used to the altitude, the walk should be pretty pleasant as the views were beautiful!
There were PLENTY of stops along the way which made it all very manageable-even for first time multi-day hikers.
It’s important to note that with Alpaca Expeditions, we had two guides at all times. One leading the group and the other walking behind for those whose pace was slower. This worked out great as everyone could essentially go at their own speed.
Day 2: Ayapata – Dead Woman’s Pass – Runcuraccay Pass – Chaquiccocha Campsite
- Walking Distance: 16km / 9.94 miles
- Time: Approximately 7-8 hours
- Campsite Altitude: 3600m
Out of the 4 days, the 2nd day of the Inca Trail is by far the hardest because you have to essentially hike up two mountain passes.
Is it doable? 100% yes.
We began our day very early with a wake up call from our guide, along with a warm cup of coca tea. Talk about tent-side service.
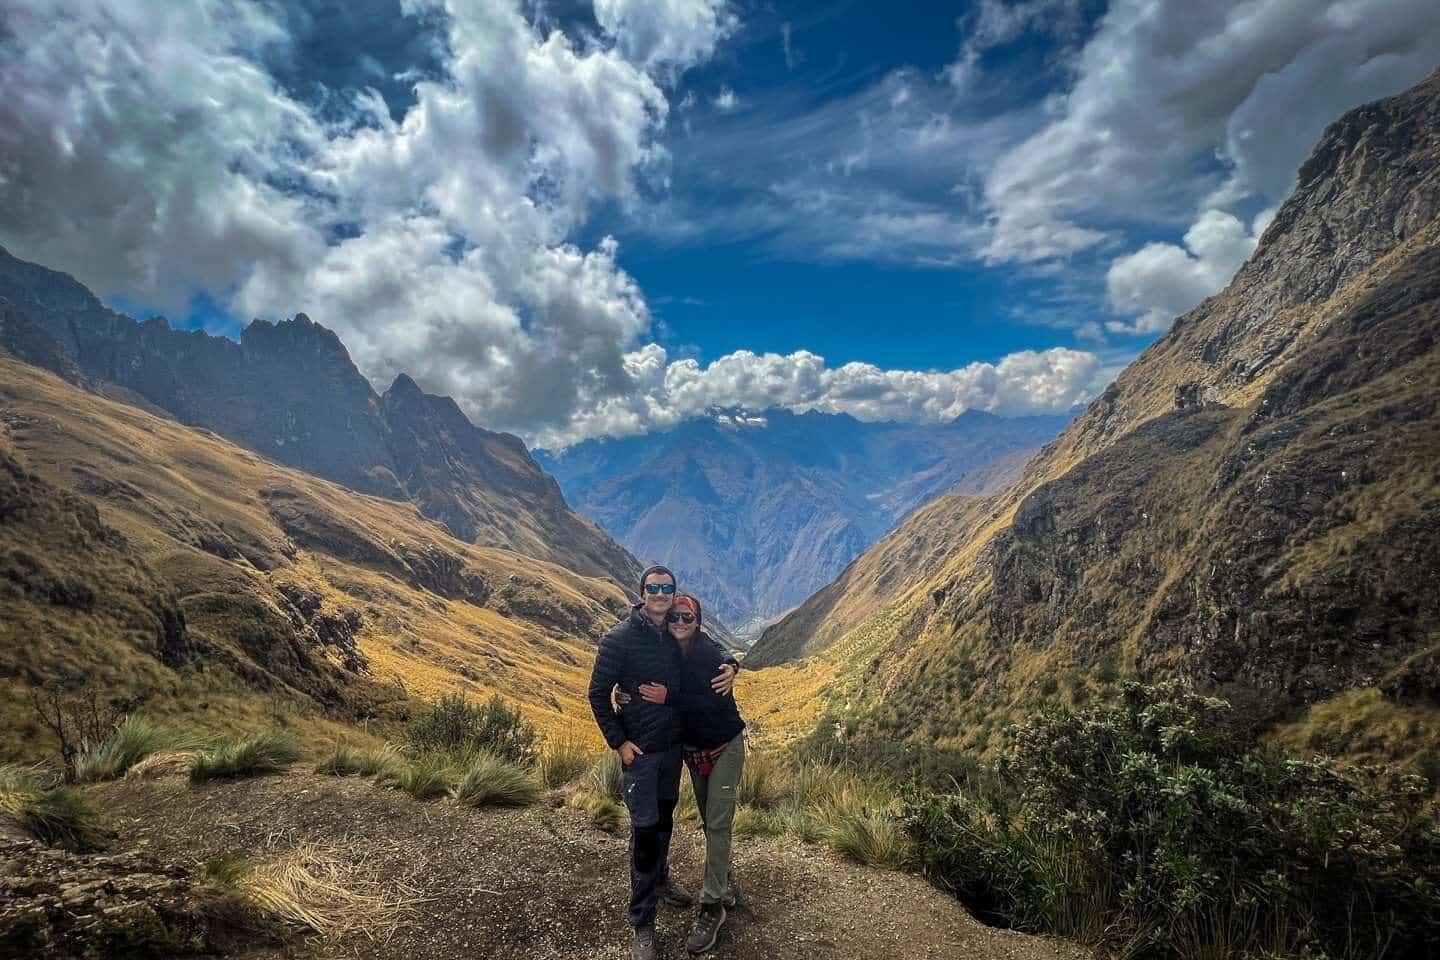
Before it got too hot, we set off as we had a 4 hour climb to make it to Dead Woman’s Pass (4215m) which is the highest point of the entire Inca Trail hike to Machu Picchu.
The hike up to Dead Woman’s Pass was a grueling, steep incline which you can hike at your own pace. Everyone in our group settled into their own rhythm with some reaching the top in no time. (Hi, Jules!)
After reaching the top, we all did a mini-celebration as we scarfed down all our snacks. If you’re worried about this ascent, don’t be. Yes, it is steep, but you get A LOT of time and can go at your own pace. Just remember to take it slow, breathe, and drink lots of water.
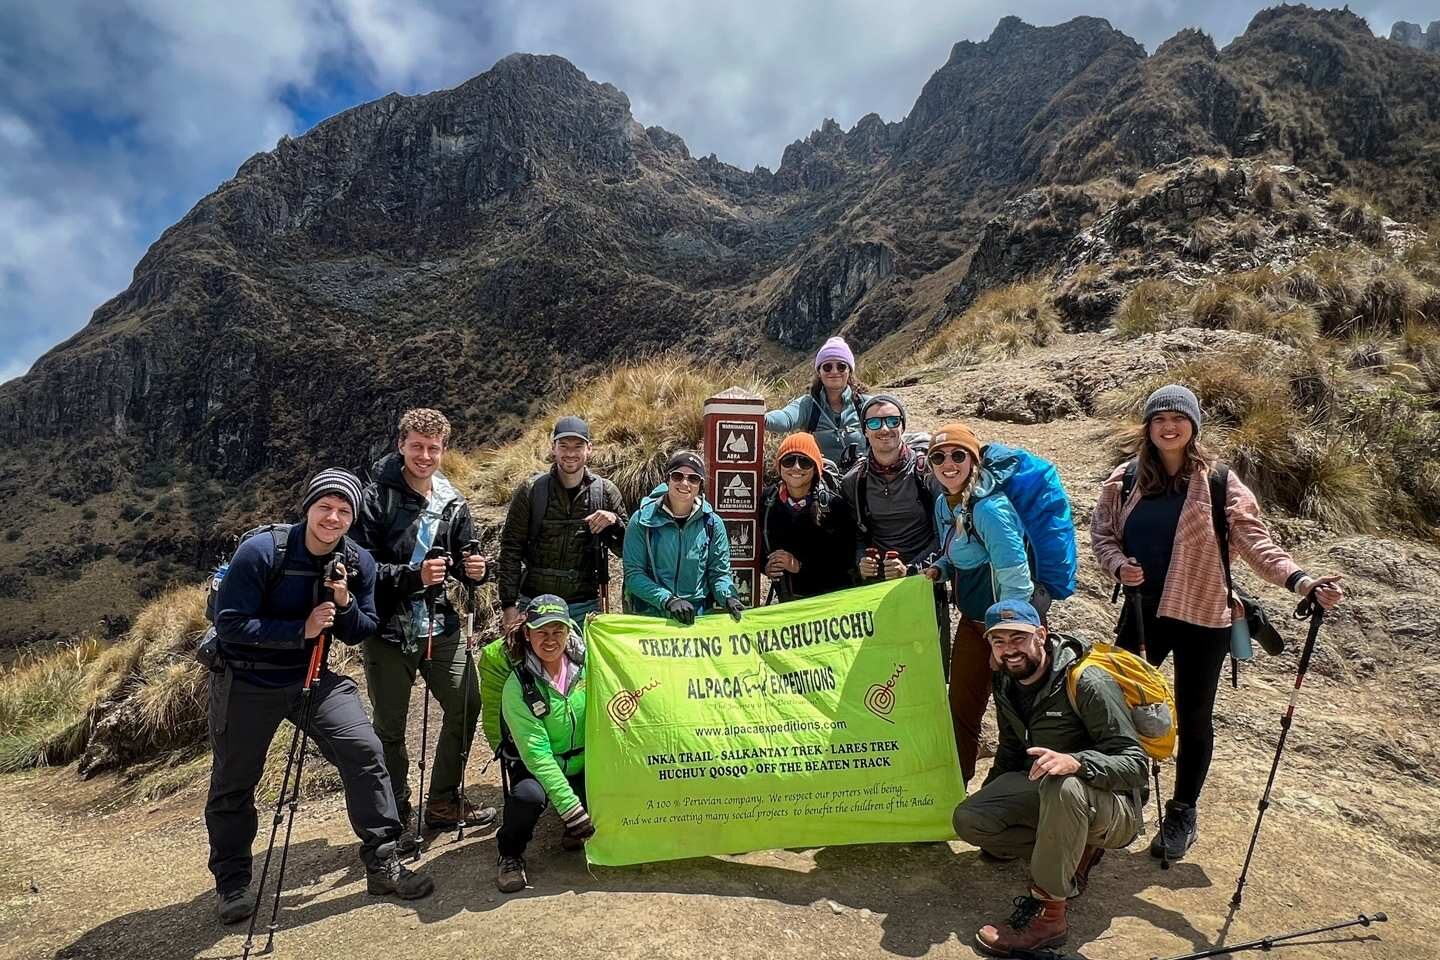

I’m notorious for being a slow hiker (#littlelegs) but despite this, got to the top, around 20 minutes behind most people in our group.
After a few photos at Dead Woman’s Pass, we began our 2 hour downhill descent to Pacaymayu (3580m) for lunch. By the time we got to lunch, we were STARVING. We all had a cheeky nap while waiting for food and shortly after lunch, we started our 2nd ascent of the day to Runkaracay Pass (4000m).
This two hour climb wasn’t as grueling as the first as we luckily got a bit of cloud cover, however, considering this was technically our 2nd mountain of the day, I was pretty tired at this point. Along the way, we stopped at a small Inca Site called Runcu Raccay.
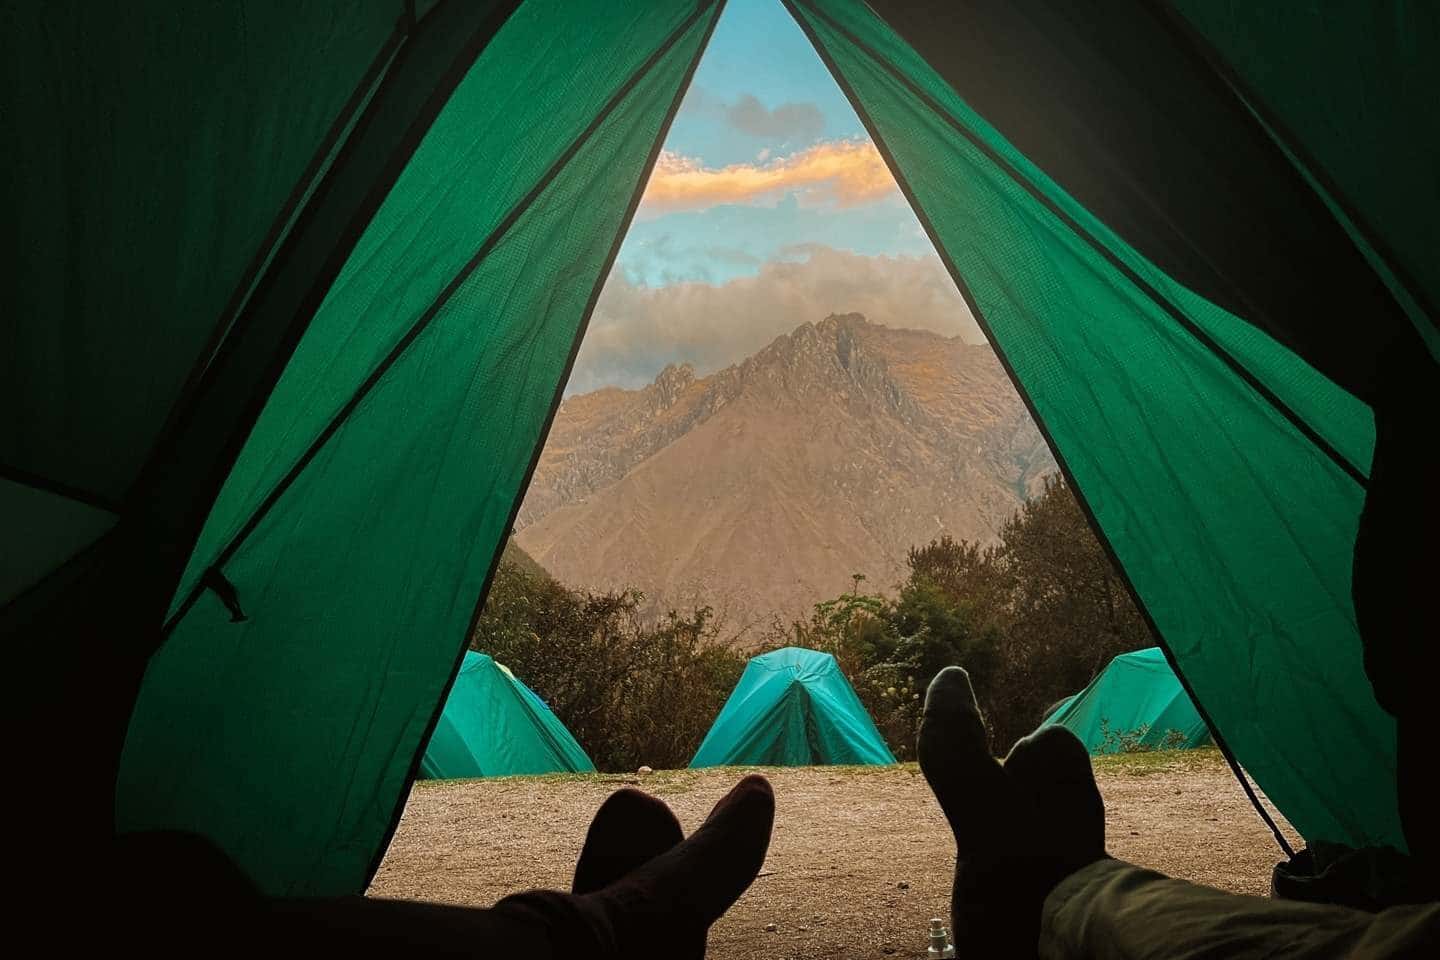
After the 2nd pass, it’s another 1 hour downhill trek to the 2nd Inca Site, Sayacmarca. From here, our campsite was only a 20 minute walk away. This was actually one of my favorite campsites as we had the most spectacular view of the valley and the Vilcabamba mountain range.
Day 2 Difficulty Level: Difficult
I would rate this day difficult due to the high altitude and the distances you’re covering. It was pretty amazing to look back to see where you hiked from! The sense of accomplishment and excitement once you get to Dead Woman’s Pass was palpable.
It was a great vibe with people from different trekking groups encouraging and cheering each other on. Although everyone in our group was relatively young (in fact, I was the oldest one), we did see hikers of ALL ages reach the top.
Again, just take it slow and go at your own pace. You have plenty of time to get through the two passes.
Day 3: Chaquiccocha – Phuyupatamarca – Wiñaywayna Camp
- Walking Distance: 10km / 6.2 miles
- Time: Approximately 5 hours
- Campsite Altitude: 2600m
The good news is that if you got through day 2 of the Inca Trail, the rest of the time should be a walk in the park! Apart from actually arriving in Machu Picchu, day 3 is probably the most memorable one as this was the day where we got to formally meet our Porters.
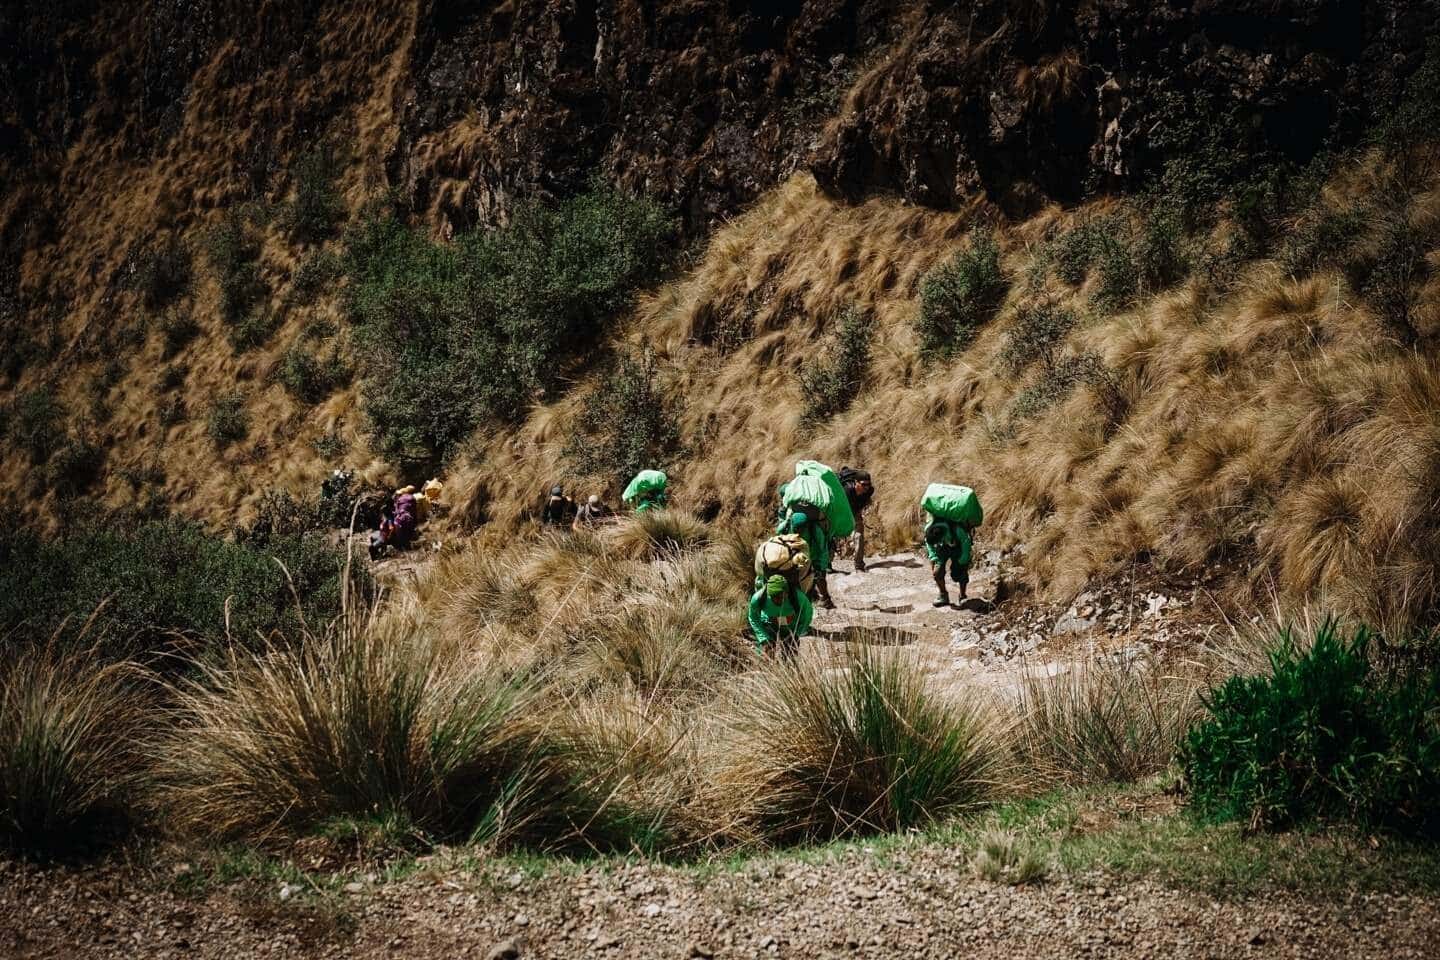
Thanks to them, each time we arrived at our campsite, our tents would be fully set up, our inflatable mattresses would be rolled out, and our green duffel bags would be set inside our tents.
Honestly, ANY Inca trail hike would not be possible without these guys and it was nice to see the company give them the recognition that they deserve.
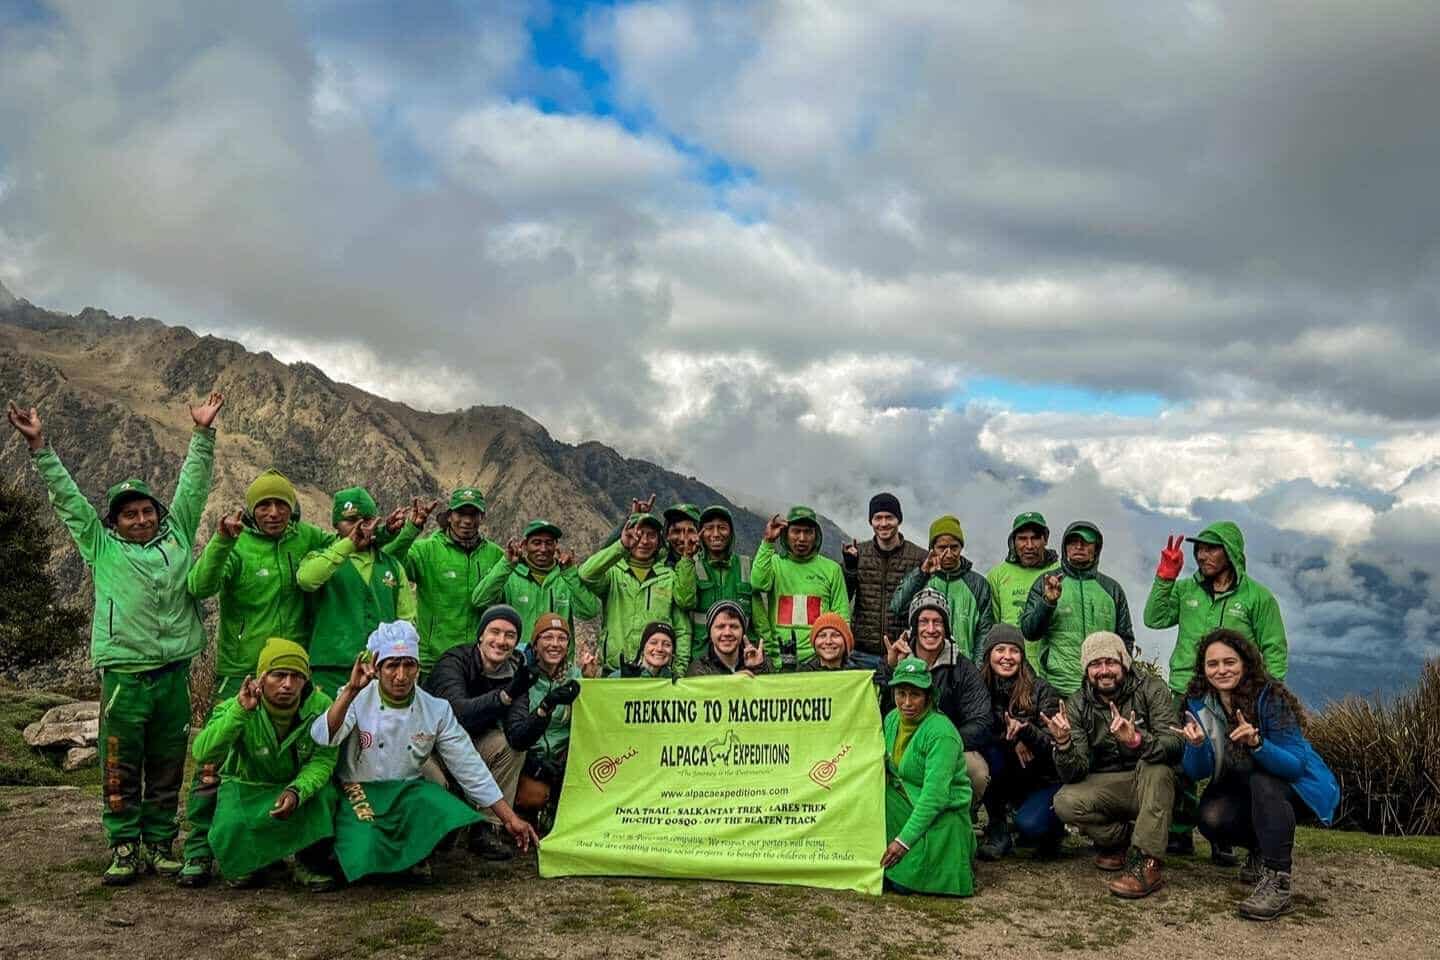
After breakfast, our guide, Fletcher called his team of porters and chefs and they individually introduced themselves in their native language, Quechua. It was such an honor to meet them and introduce ourselves in return.
One of the things I love about Alpaca Expeditions is that they are equal opportunity employers. We were lucky enough to have a female guide, Nancy throughout our trip and a female porter named Isabel who were sporting their “Hike Like a Girl T-Shirts” throughout the trek.
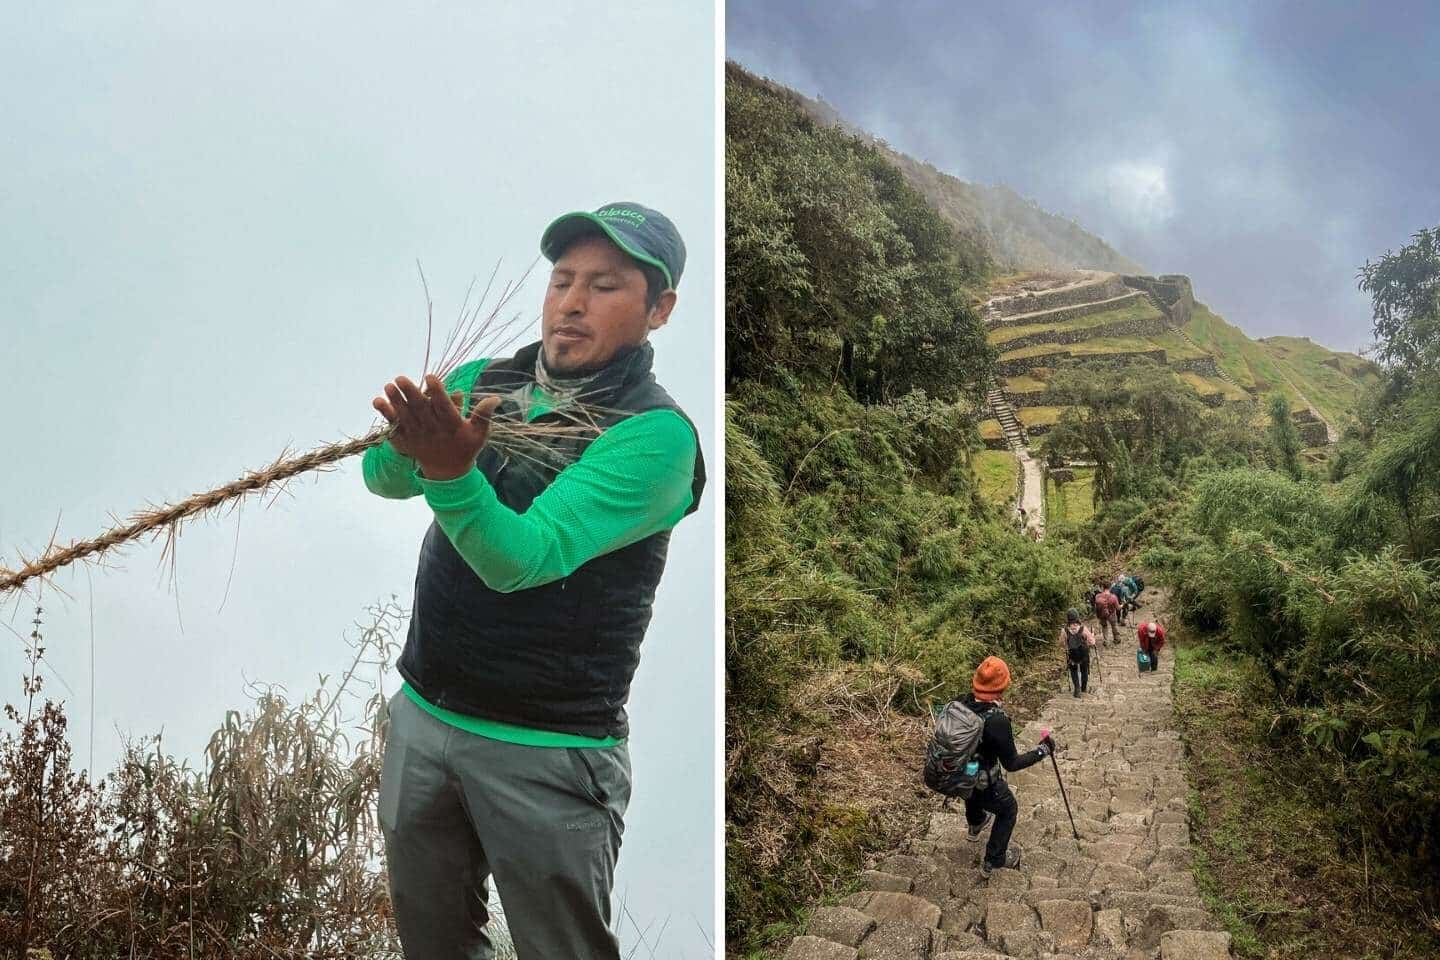
After the introductions, we set off and hiked for 2 hours along what they call the “Inca Flat” which is essentially a set of gradual inclines along a stunning cloud forest. During this day, our guide Fletcher stopped at a lot of places to explain the flora and fauna in the jungle.
We got demonstrations on how the Inca used different plants to make rope, hunt, etc. and saw stunning views of the valley and the distant mountain ranges.
After walking through the Inca flat, we reached another Inca site called Phuyupatamarka (whew, what a mouthful!) before we began our descent towards our campsite.
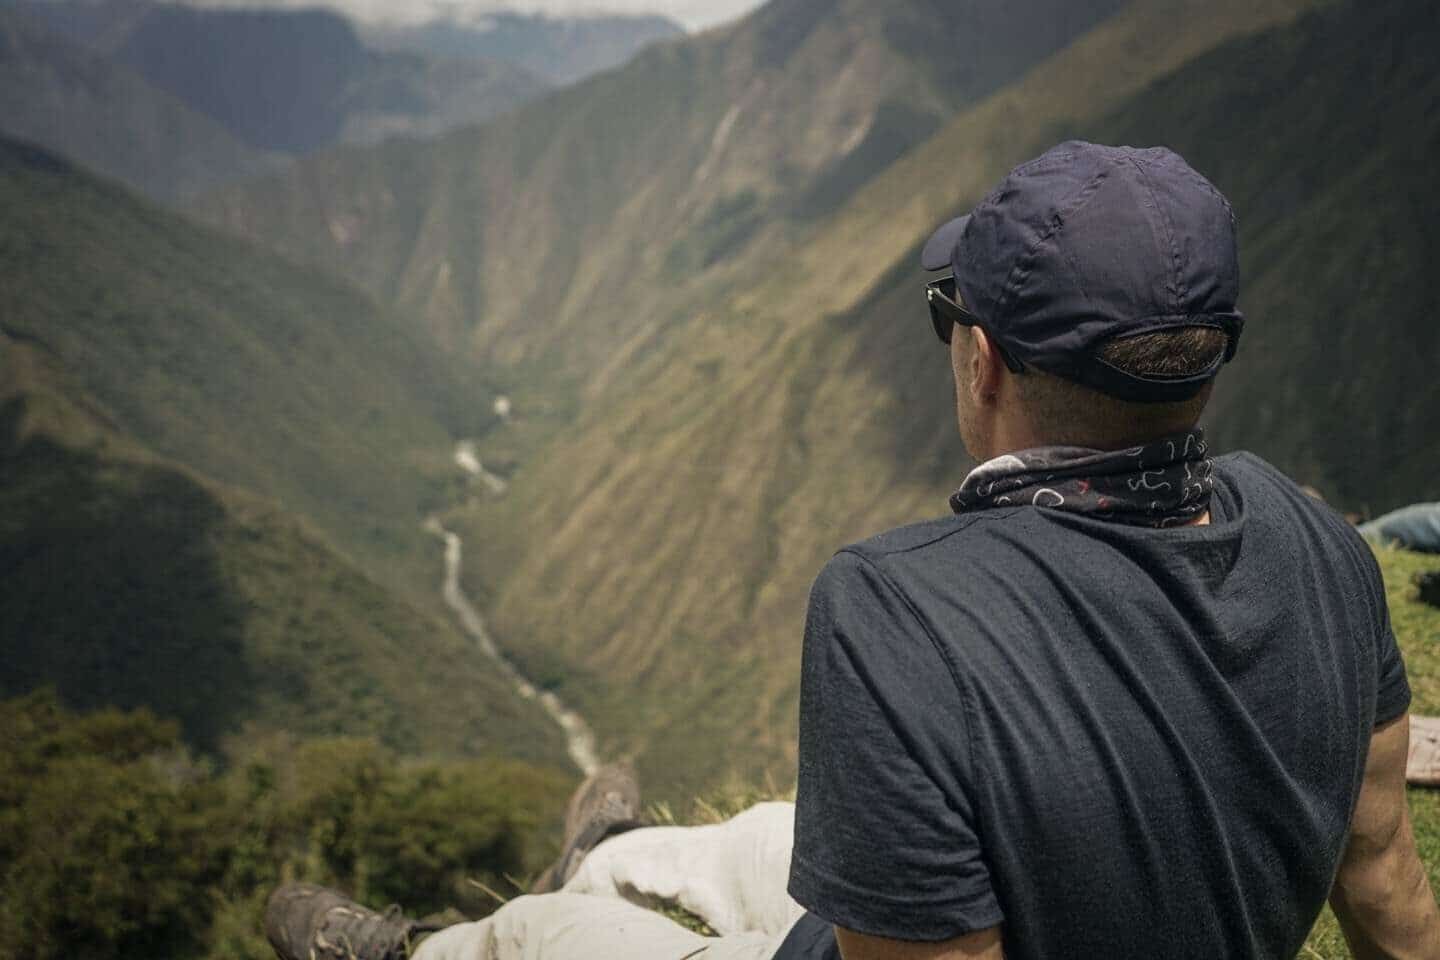
During our hike, our guide informed us that the part of the Inca trail that we were supposed to hike was closed for maintenance due to a landslide so we took an alternative route. This was actually one of my favorite parts of the Inca Trail as everything just felt so rough and rugged.
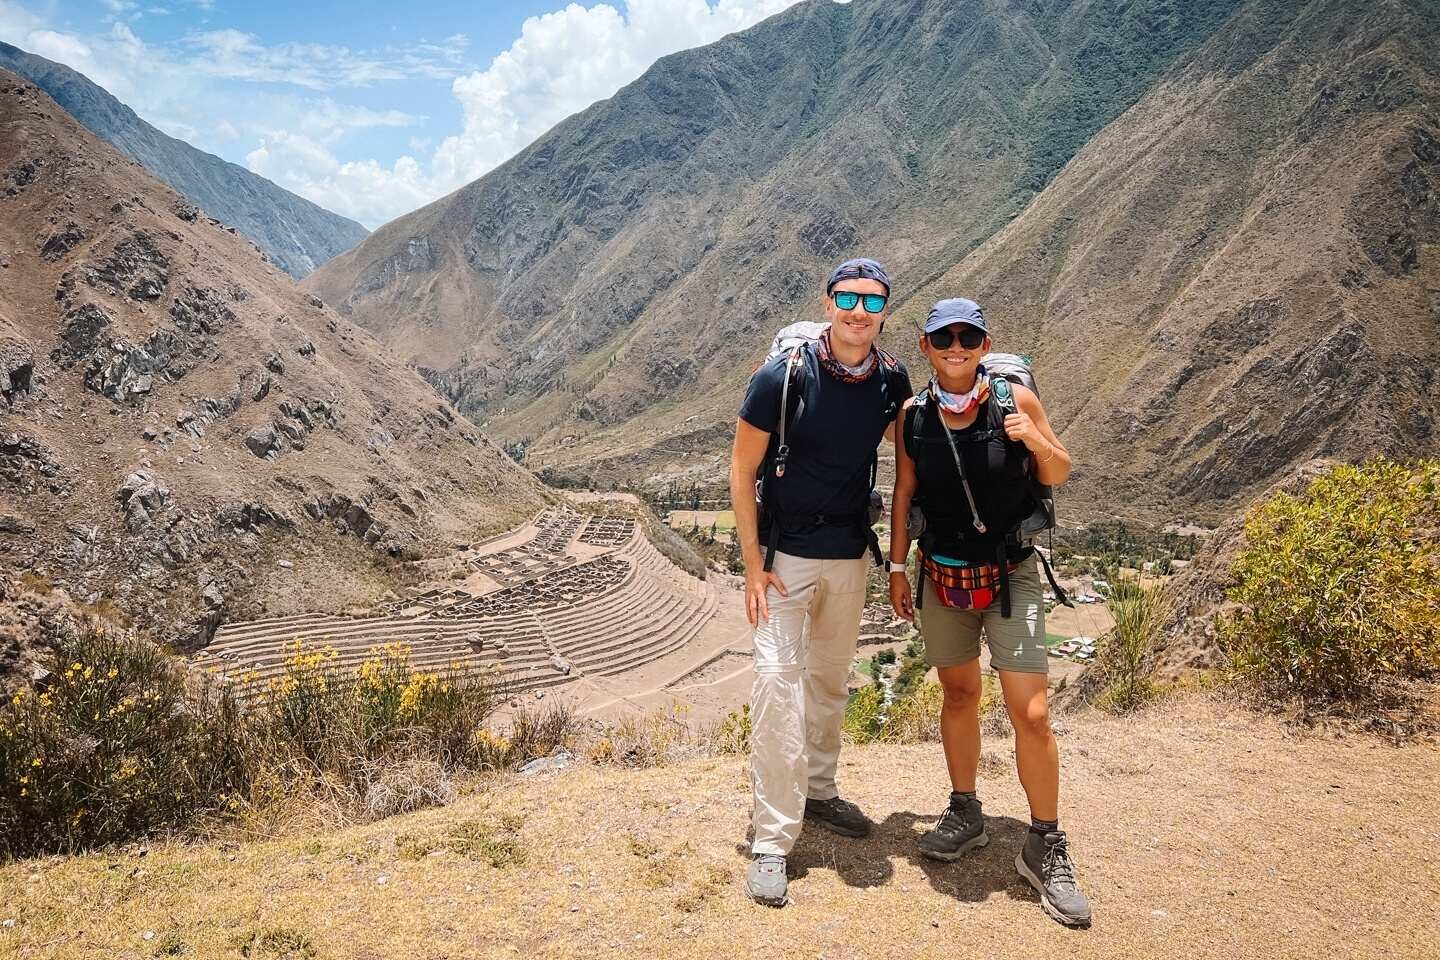
We were bombing our way downhill, walking through unmarked paths and clearings. The views were absolutely spectacular. Before reaching camp, we also visited another Inca Site, Intipata whose beautiful rice terraces used to plant various crops.
We arrived at our campsite at around 1:00 PM and had the luxury of having lunch PLUS a nap which was absolutely welcomed after 3 days of walking. By sunset, located just 5 minutes from our campsite was one of my favorite Inca Sites along the way, Wiñay Wayna.
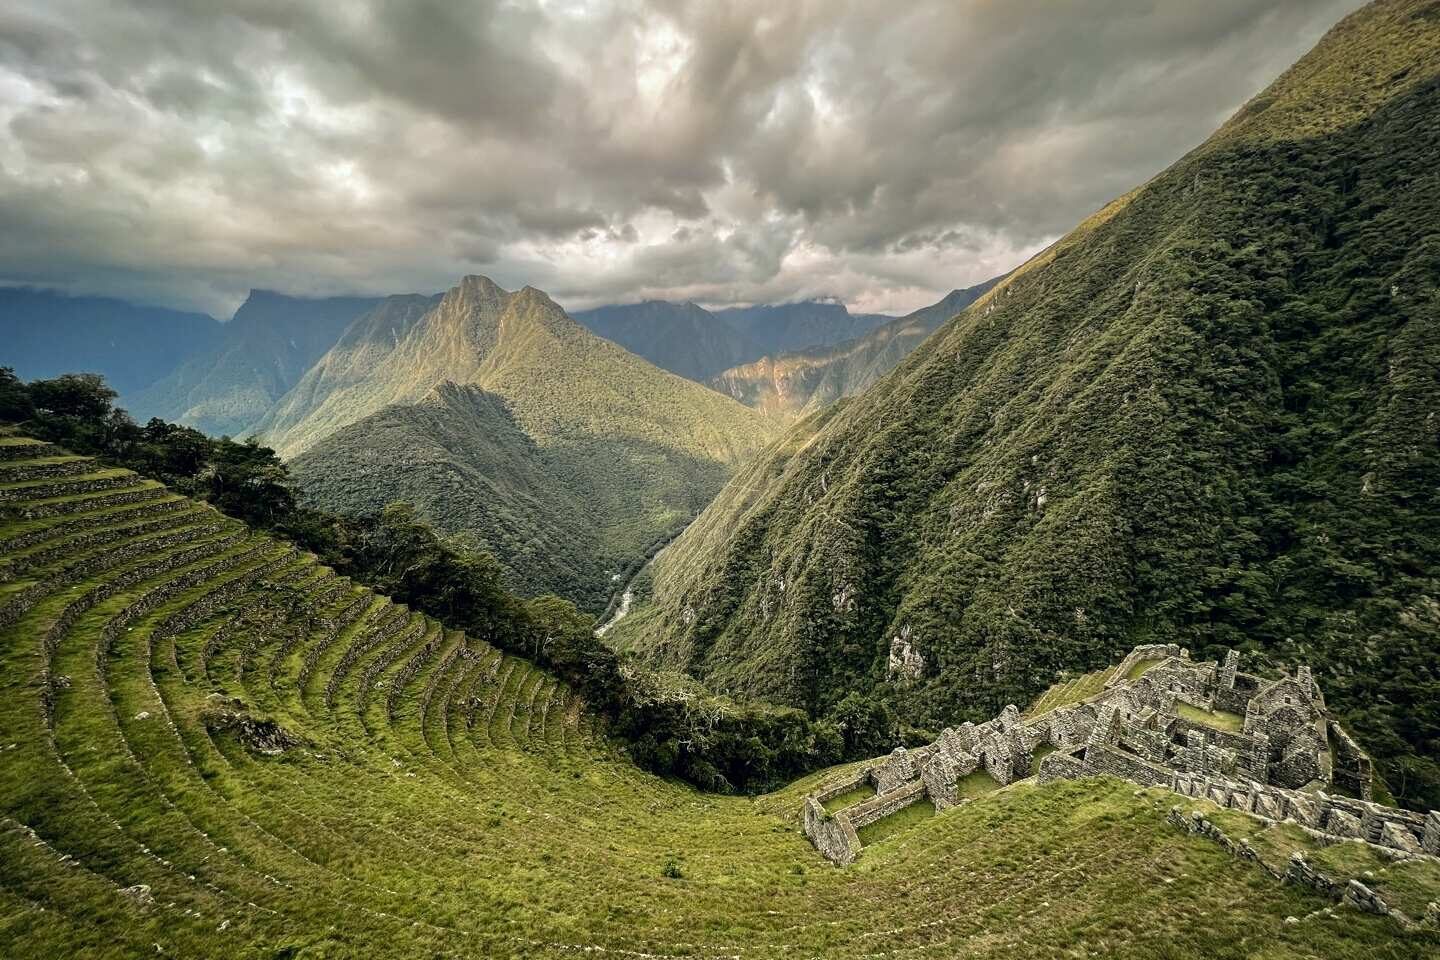
This site was SPECTACULAR and the fact that we got to enjoy it with very few people made it even more special. Seeing this Inca Site really gave you insight into what amazing builders and Incans were.
Our guide Fletcher would sit us all down, telling us about the history of the place, giving us a glimpse at what these ancient sites were used for.
Afterwards, we all headed back to camp for dinner and final briefings for our trek to Machu Picchu the following day.
One of the girls in our group was celebrating her birthday so the chef and the rest of the members in the Alpaca team surprised her with a cake! A freaking cake. Made while we are in the middle of nowhere…in the mountains.
It was amazing!
Day 3 Difficulty Level: Easy
Day 3 of the Inca trail can definitely be categorized as easy as most of it is spent walking downhill. However, having said that, walking downhill is HARD on your knees so make sure you have sturdy trekking poles at hand.
I even had to borrow Tom’s knee support as my knee started acting up mid-hike. This happened to me as well during our Everest Basecamp Trek! The distance during the third day was relatively short but the sights were all absolutely breathtaking.
Day 4: Machu Picchu
This is it! The day everyone has been waiting for.
After a very early wake up call, we waited for the checkpoint of Machu Picchu to open and as soon as it did, we began our trek to the Sun Gate.
After a few minutes of walking on Inca Flats and clamoring up a very steep “staircase”, we arrived.
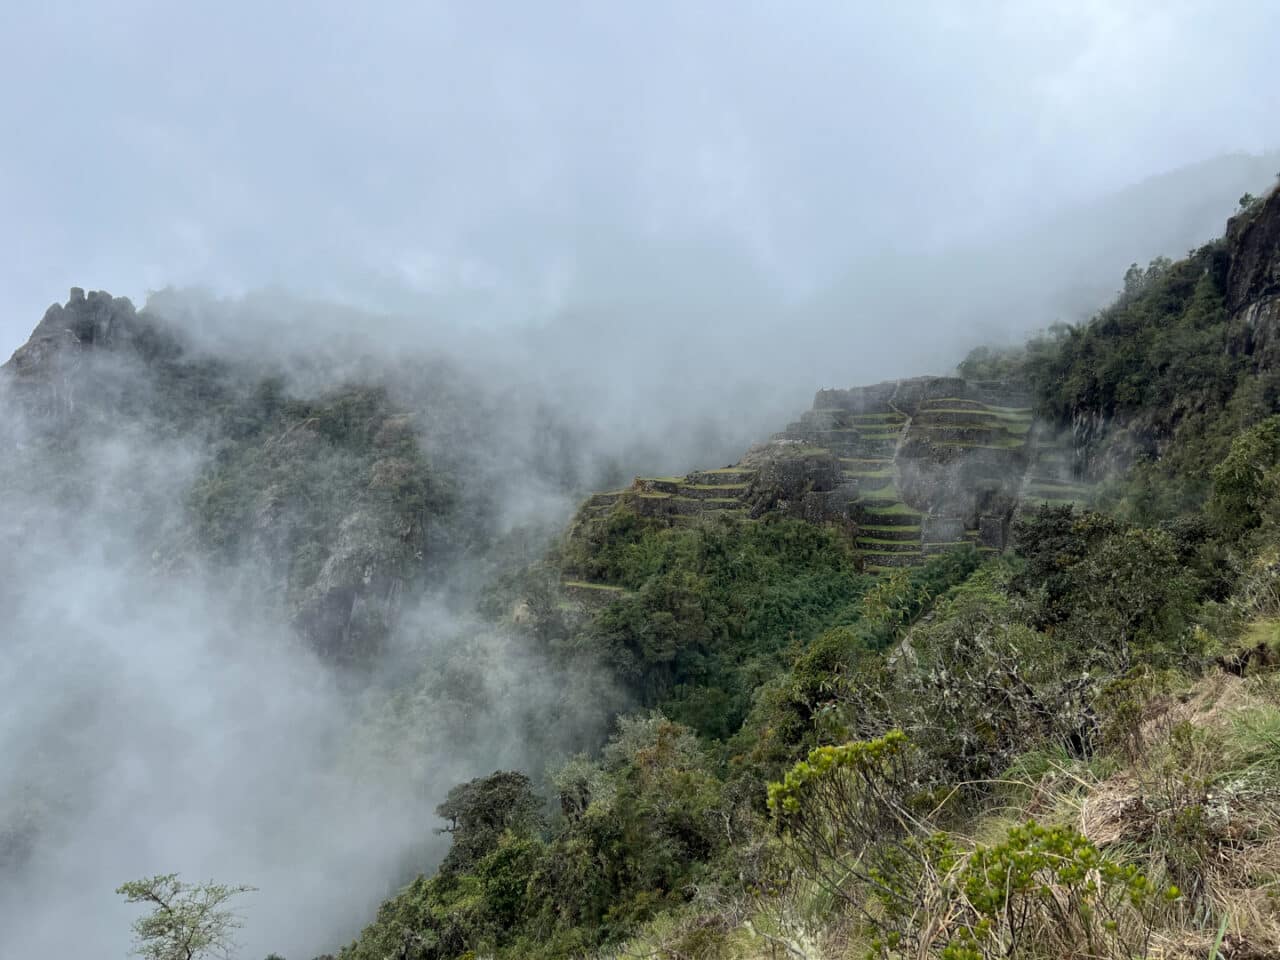
Unfortunately, it was very cloudy and we couldn’t see anything. We waited around for a few hours, hoping to catch a glimpse of Machu Picchu but the fog and clouds wouldn’t let up.
Our group then decided to head towards our first view point of Machu Picchu. The excitement in the air was apparent. Everyone was racing towards the end goal.
As mentioned, I was having problems with my knee and en route to the final end point, my knee sort of just popped. Luckily, there were a lot of kind souls who helped me along the way!
So THANK YOU to the stranger who gave me pain killers, to our guide Nancy for helping me out, to Tom for carrying my backpack, and to Phoebe and Jules, the two girls in our group who immediately bandaged and patched me up when they saw me.
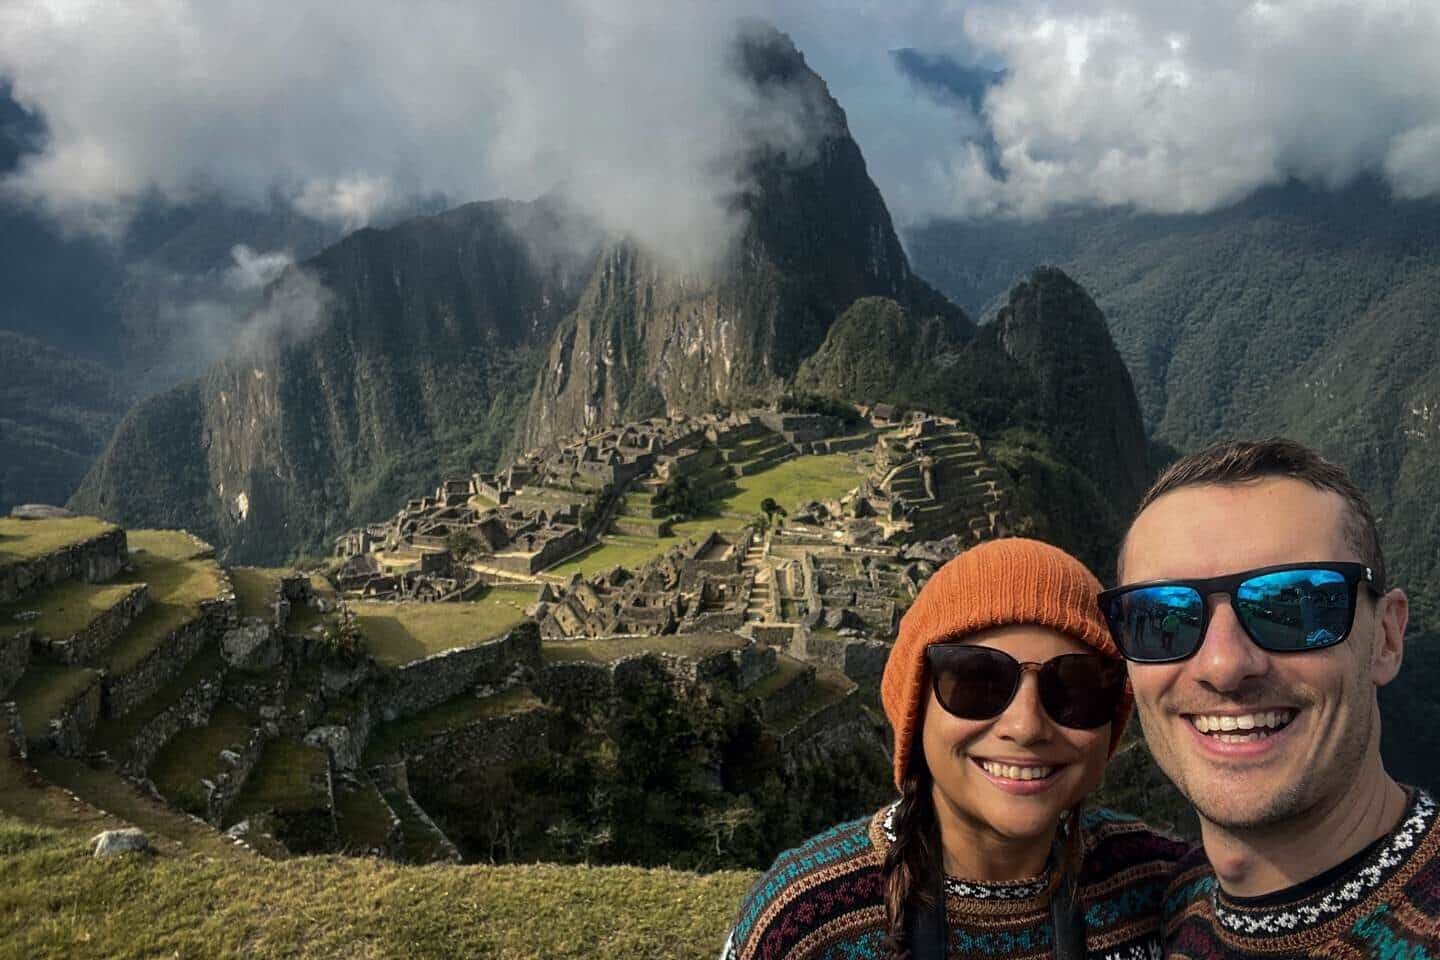

Despite the fiasco, when we reached Machu Picchu, the feeling was indescribable. It was one of those places that actually lived up to its expectations, AND more! We stood around taking a million and one photos, each of us proud of the journey we went on over the last few days.
Luckily, I was still able to walk around, enjoying our 2-hour guided tour of the place. Machu Picchu, similar to the other Incan sites, was INCREDIBLY built.
Stone by stone, each area was so carefully thought through. It is honestly one of those places that I strongly recommend for people to see, at least once in their life.
After leaving the complex, we made our way to Aguas Calientes via bus for some well deserved Pisco Sours and lunch.
And just like that, our Inca trail to Machu Picchu ended. We lucked out on getting an amazing group of people to trek with and incredible guides as well. From Aguas Calientes, you then take the train back to Ollantaytambo then a bus to Cusco.
Day 4 Difficulty Level: Easy
There was A LOT of downhill and Inca Flats during the last day of the Inca Trail which if you don’t have a bad knee, would be very easy.
There is one final stretch when you reach the Sun Gate where you have to climb up but apart from that, everything else was pretty easy and manageable.
Again, just go at your own pace! There is no rush to get to Machu Picchu as you get plenty of time once you get there.

How Much Does it Cost to Do the Inca Trail?
Now comes the big question- how much does the Inca Trail cost?
The classic 4 day / 3 night Inca Trail hike with Alpaca Expeditions costs $695 or $660 for students with a valid ID.
This includes the following:
- Professional guides
- Permits for the Inca Trail AND Machu Picchu
- Equipment (HIGH QUALITY tents, sleeping bags, mats, duffel bags, camping toilet, dining tent)
- A team of porters + chef
- All meals (we usually had soup, protein, veggies, and dessert)
- Happy hour (tea, hot chocolate, popcord)
- Water
- Taxes
To give you an idea, tickets to Machu Picchu alone are roughly around $40 while train tickets from Aguas Calientes to Ollantaytambo can range from $60-100. These are all already included in the price of the tour.
Honestly, if you ask me, the tour was 100% worth it. The level of service that we got from the team was fantastic! Small details like the porters remembering which side of the tent to leave my duffel bag in because he knew I had been sleeping on that side, to the daily wake up calls with coca tea.
A quick note on equipment: we passed a few hiking groups along the way and saw that they had SMALL tents for two people. It looked very cramped.
On the other hand, we had a large 4-person tent to be shared by 2 people, plus a pillow and a warm sleeping bag. To get an updated price list on how much things costs, we recommend checking out Alpaca Expeditions website.
While it is possible to book the Inca Trail for less, we don’t recommend it! You might end up trekking in a large group with subpar food and less than desirable campsites.
Choosing a Tour Company for the Classic Inca Trail
When it comes to choosing a tour company for the Inca trail, there are loads of options! We saw tons of different companies trekking on the mountain.
From our research and personal experience, these are a few factors that we recommend you look out for.
1. How does the company treat their porters? Do they get fair wages or do they rely on tips to make a living? Is there a weight limit on how much 1 porter carries?
2. Do they have good reviews online? TripAdvisor / Google Reviews
3. What is included in the price you’re paying for?
4. What condition is the equipment in? You can usually get a feel for this from reviews.
5. Will you be carrying your own equipment?
6. Does the company have any social projects to give back to the community?
7. What’s the maximum number of people in your group?
Alpaca Expeditions Review: Why We Chose Them
After a lot of research, we decided to do our trek with Alpaca Expeditions for a few reasons but mainly for the ethical treatment of their porters.
As mentioned previously, the owner Raul used to be a porter which means he knows more than anyone what porters really need. During our trek, the porters of Alpaca (The Green Machines) were all kitted out with proper hiking pants, hiking boots, down jackets and more.
Sadly, we saw the porters of a few other trekking groups who were hiking in sneakers or sandals and patched up jackets. During our trek, they also had their own tents and sleeping bags to stay warm. They also get to eat the same food that we do which is really nice!
When we met our porters, our guide also shared a few of the social projects that Alpaca had. They would do porter’s trips with the porters and their families, giving them a chance to actually see Machu Picchu.
Sadly, a lot of them, despite making the hike dozens of times each year, have not set foot in Machu Picchu and for them, being able to see this part of their own history is extremely special. Alpaca Expeditions pays for their train tickets, accommodations, entrance fees, bus tickets, & transportation) and is so far, the only company that does this for their porters.
They also have a porter’s house (which has an in-house doctor) where they can spend the night prior to the trek so they don’t have to travel far on the day of their trek.
These small details made us feel good about our choice! Also, from speaking to our guides, you can tell that they genuinely love the company they work for and how proud they are to be working for them.
Overall, we LOVED doing our Inca Trail to Machu Picchu with Alpaca Expeditions. The entire trek was so well organized that all we had to do was show up and enjoy the trail. The team is extremely professional in handling your booking and is very responsive. The guides are very knowledgeable and clearly love what they do. Alpaca Expeditions have thousands of glowing reviews from customers and after doing the Inca Trail with them, we understand why.
Preparing for the Inca Trail to Machu Picchu
So if you’re still reading this, it means you’re seriously considering hiking the Inca trail and are now wondering how exactly to prepare for it.
Although the Inca Trail is definitely not the most grueling hike, you do need to be relatively fit because of the altitude, combined with the ascents and descents.
Now personally speaking, we generally found the Inca Trail to be a relatively easy-moderate trail.
Yes, it was long distances BUT there were lots of breaks and you can go at your own pace throughout the hike. Although, full disclaimer, we have been doing A LOT of hiking prior to the trip.
We spent 14 days hiking from Portugal to Spain doing in the Camino Portugues, and a week hiking in Huaraz Peru prior to our Inca Trail.
However, with that being said, there were a few people in our hiking group who have never been on a multi-day trek and did absolutely fine! As mentioned, in the other Alpaca Expeditions group, there were also a lot of older people who completed the trek.
Here are a few tips that we have to help you prepare for your trek.
1. Do Some Training Hikes
If you’re not an avid hiker or not 100% physically fit, we suggest you do a bit of training before your hike. While doing a multi-day hike is recommended, if that isn’t accessible for you, just make sure you try to do a few hikes with similar ascents.
When training, make sure you also wear the same footwear that you plan on wearing during the hike. We recommend wearing hiking boots with good ankle support!
2. Acclimatize Before Your Hike
If you’re not used to the altitude, we recommend that you go on a few acclimatization hikes prior to the Inca Trail. If this isn’t possible, at the very least, allow yourself 3-4 days in Cusco to get used to the altitude.
Cusco lies at 3,399m so spending a few days here will help you get used to the high altitude. From Cusco, if you want to do a few acclimatization hikes, you can do Rainbow Mountain, Humantay Lake, or this awesome local experience of horseback riding in Ausangate National Park.
During this time, avoid drinking alcohol, don’t eat heavy meals, and pick up some coca candies while you’re at it.
3. Stay Hydrated Throughout the Hike
We recommend bringing at least a 1.5L-2L camel pack with you during your trek. This will make it easier for you to stay hydrated throughout the trek without having to stop repeatedly. Staying hydrated can massively help you with the altitude.
Before you leave your campsite, most trekking groups will always have filtered water for you to refill your water bottles or camel packs.
4. Drink Coca Tea
While I’m not entirely sure how coca tea helps, the locals swear by it! Throughout the trek, during breakfast and lunch, try to drink coca tea as it helps with the altitude. In fact, during our trek, we would see a couple of porters chew some coca leaves while taking breaks.
5. Come Prepared
Another tip is to make sure you come prepared- we definitely DID NOT bring enough medicine with us and underestimated what we would need in this department.
As we just spent a few days recovering from food poisoning before our trek, we had a ton of medicines for that…but neglected to bring things like antihistamine for mosquito bites etc.
However, with that being said, our guide carried a basic first aid kit which had a bunch of things that we could use. If you have any previous injuries, definitely bring a support of some sort as the downhills (and uphills) can be brutal!
What to Pack for the Inca Trail
When it comes to packing for the trail, we definitely recommend bringing layers as you will most likely experience two different climates. So during our actual trek, the only thing we had to carry was our daypacks. This contained our essentials for the day like cameras, medications, snacks, and rain gear.
The rest of our gear were packed in the duffel bags that the porters were carrying. Each duffel bag had to be 7kg or less so you want to make sure you pack light!
While 7kg doesn’t seem like a lot, you will 100% be able to bring everything that you need. We spent a couple of hours walking around Cusco looking for random items that we needed. Here are a couple of things we recommend taking with you during the Inca Trail.
Clothes
- 2x hiking pants
- 1x thermals (I used this in the evenings + as pajamas)
- 3x hiking shirts / tank tops (we love these Merino Wool tops from Western Rise and Ibex)
- 2x shirts you can change into when you get to camp
- 1x long sleeved Merino wool shirt
- 1x rain jacket (This Northface is our go-to!)
- 1x waterproof pants
- 1x down jacket (it gets very chilly in the evenings!)
- 3-4x merino wool socks (3 for hiking and 1 to change into when you get into camp)
- 4x quick dry underwear
- 2x sports bras (ladies)
- 1x beanie
- 1x sunhat
- 1x buff to protect your neck
- 1x sunglasses
- 1x fleece
Gear
- 1x pair of sturdy lightweight hiking boots (we love Merrels but here’s our full recommendations on the best hiking boots of women and best hiking boots for men)
- 1x set of trekking poles
- 1x hiking day bag. Tom uses his Osprey Talon Pro while I use the Osprey Tempest Pro
- 1x headlamp (essential)
- 1x quick dry towel (Alpaca provides you with a small towel but it was nice to have a larger one to use to freshen up)
- 1x sleeping bag at least (-10C)
We ended up renting our sleeping bag and an air mattress from Alpaca for a small fee which turned out to be great as their equipment was very good.
Toiletries
- 1x small soap
- 1x wet wipes
- 1x deodorant
- 1x first aid kit
- 1x sunscreen- be liberal when applying this, even when you don’t think the sun is blazing. The sun in the mountains is no joke.
- 1x mosquito lotion
- 1x chapstick
- 1x hand sanitizer
- 1x earplugs (trust us on this!)
Paperwork
Passport- this is crucial as you can’t enter the checkpoints without this. Once your permits are issued, no changes can be made apart from your passport number (this is for those whose passports are about to expire)
FAQ on the Inca Trail to Machu Picchu
Now before I end this article, I know that you probably have a lot of questions so let me try my best in answering a few of them.
Personally speaking, we would never travel without insurance. As full-time travelers, we’ve seen our fair share of travel horror stories so we like to be on the safe side. When it comes to high altitude trekking, we recommend checking out both World Nomads and Safety Wing.
Make sure you read the fine print or contact a service representative to confirm the maximum altitude that you will be insured for.
While trekking poles can be awkward to use if you’re not used to them, we swear by them and even travel with ours all year round. We recommend picking up a lightweight pair, or you can also rent yours when you get to Cusco or directly from Alpaca Expeditions if you choose to book with them.
I was initially worried about this one as well but it turns out, you get a lot of time in Machu Picchu itself. Whether it’s taking photos when you first get there to the 2-hour guided tour we went on, I personally never felt rushed.
In the end though, we all were ready to leave as the Pisco Sours were calling us!
Honestly, it was SUCH a luxury to get to our camps with our tents all fully set up thanks to our super porters! Each time we arrived, we would crawl into our tent and everything would be there.
Our porters would also come by with a basin of warm water so we could freshen up upon arrival. It felt very luxurious compared to other multi-day hikes!
Given that you’re in the middle of nowhere on a mountain, do not expect luxury when it comes to toilets. In most of the campsites, there are toilet facilities but they are very basic (mostly squat toilets, plus they can get quite dirty as it is used by everyone.
A great thing about booking with Alpaca Expeditions is that at every campsite, they would set up a portable private toilet for just guests. I would suggest having a small bottle of air freshener for the toilet tent to help keep it fresh.
Let’s put it this way, the Inca Trail to Machu Picchu isn’t hard…but it isn’t a walk in the park either.
If you are in good physical condition and have done a few multi-day hikes, the difficulty level is easy-moderate. Just make sure that you take your time in getting acclimated to the altitude.
The Inca trail to Machu Picchu is 43 kilometers or 26 miles. You will be walking along the ancient path used during the Inca civilization through cloud forests, ancient archaeological sites, and more.
It is one of the most popular trails in South America that is frequented by hikers from all over the world.
Since 2000, it has been illegal to hike the Inca Trail without a guide as the Peruvian government have placed strict restrictions in place to control overtourism. In order to do the Inca trail hike, you have to book with a licensed guide from a licensed tour operator so they can secure the necessary permits for you.
The meals that we had during the Inca trail were all surprisingly good. As mentioned in this review, our group’s private chef would make 6-7 different dishes, with some sort of soup, protein, vegetables, and dessert.
We recommend bringing enough cash for tipping your porter and your guide as well as a few soles if you need to buy a few other items along the way.
In the first 2 days of the Inca Trail, there are some opportunities to buy snacks from local vendors along the way. They usually sell drinks, snacks, and other essentials like sunscreen and mosquito repellent.
There are also a few toilets during the first day that require payment if you decide to use them.
Although the porters from Alpaca Expeditions do not rely on tips to make a living, it is still nice to tip them as they are the unsung heroes of the trail and doing it without them would be virtually impossible!
What we did was pool all our money together and divide that between the porters and the chefs. Alpaca recommends that porters receive between 60–80 soles while chefs get 150 soles each.
If you can afford it, give a little extra! These guys put so much work and effort into making sure you can walk the Inca Trail as easily as possible.
That’s it! Hopefully, this comprehensive guide in walking the Inca Trail to Machu Picchu has answered all of your questions and more.
It was a trek that absolutely blew us away and one we cannot recommend enough!
Inspired? Pin it!
