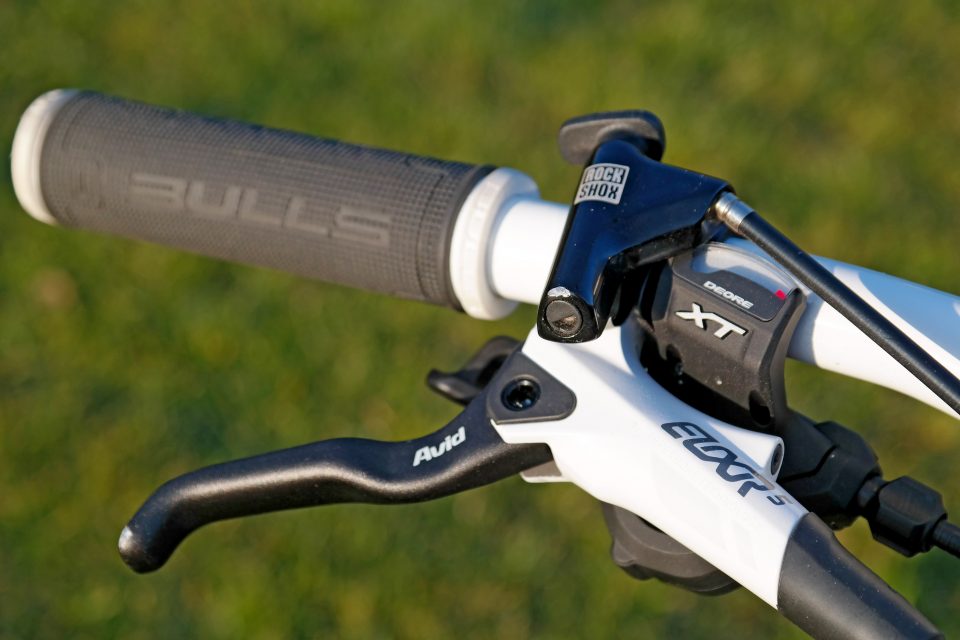
Sitting astride a mountain bike, even the most seemingly unconquerable and unforgiving terrain can be tamed and navigated. In terms of adrenaline rush and adventure, there is little that beats the thrill of speeding down narrow single track trails, narrowly avoiding all manner of natural hazards; it probably lies a world away from what you have tackled on a bike before, or what you used to believe possible. Whether you are a keen road cyclist looking to transition to the wonderful world of off-road biking, or are just interested in starting out on a bike, this guide will provide you with all the information you need to get out there and shred.
Before I begin, I must warn you… cycling is highly addictive, and you may never be the same again! I stumbled onto mountain biking at University, and spent much of my time either out on the trails, or in lectures day-dreaming I was out there! Having recently finished University, I’m now chasing adventures by bike on a trip cycling around the world, 14,000 kilometers from England to Kyrgyzstan so far, always choosing the off-road route where possible.
View Contents
Essential Tips
Start Slow And Steady
It is good to challenge yourself, and stretch your comfort zones slightly, but as with all adventure sports, keeping within the limits of your ability, and building your way up gradually is the best way to progress and enjoy the experience. Push yourself too far and you risk a fall which could knock your confidence, or worse, result in injury. Many official mountain bike trails have a colour-coded grading system similar to skiing to indicate the difficulty of the trail and whether it is suitable for your ability. Gradings vary between countries so check how they are classified before you ride in a new country.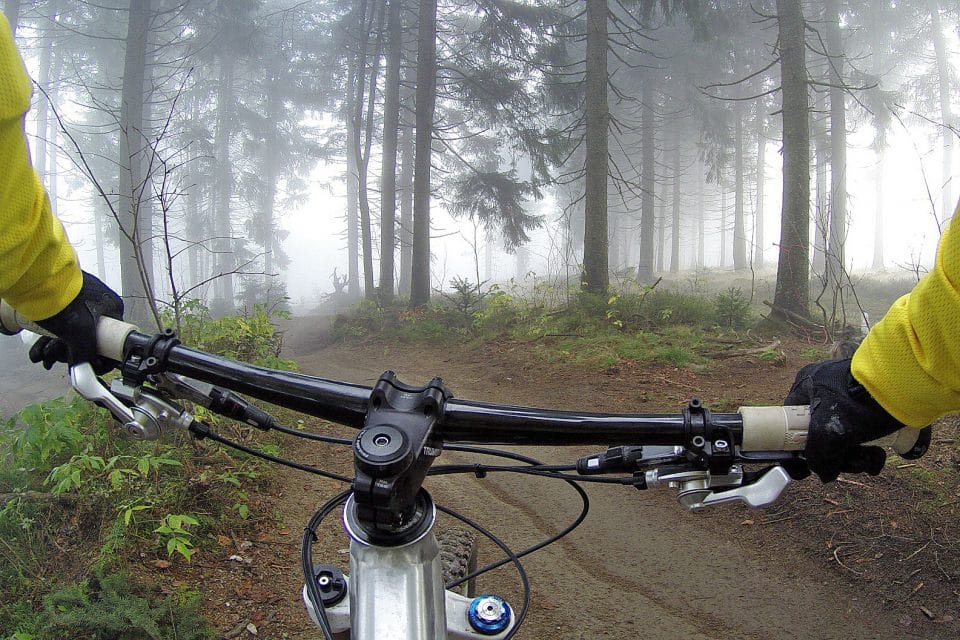
Position Your Body
Perhaps the most important aspect of good mountain biking is having the right body position; get it right to quickly become a skilled rider and have a more enjoyable mountain bike experience. Mountain biking requires you to constantly adapt and shift your position on the bike depending on the terrain. When you go uphill, you should lean forwards, when you go downhill, you should shift your weight to the rear of the bike. There are two main positions; the neutral position and the ready position;
Neutral Position – For easier, non-technical sections of the trail, particularly if you are pedalling, you will be in the neutral position, which is probably what you are familiar with when cycling normally. Here, you are sitting down, a slight bend in the knees and elbows, with one or two fingers covering the brakes.
Ready Position – When the trail gets steeper and more technical, you should switch to the ready position. Stand up from the saddle with your weight spread evenly between the pedals. The pedals should be level, in the 3 O’clock and 9 O’clock position of a clock face, to prevent hitting against any rocks or tree root. Keep relaxed with your knees and arms bent to naturally absorb much of the bumps. Keep your upper body bent and crouched to lower your centre of gravity and offer more control over the bike.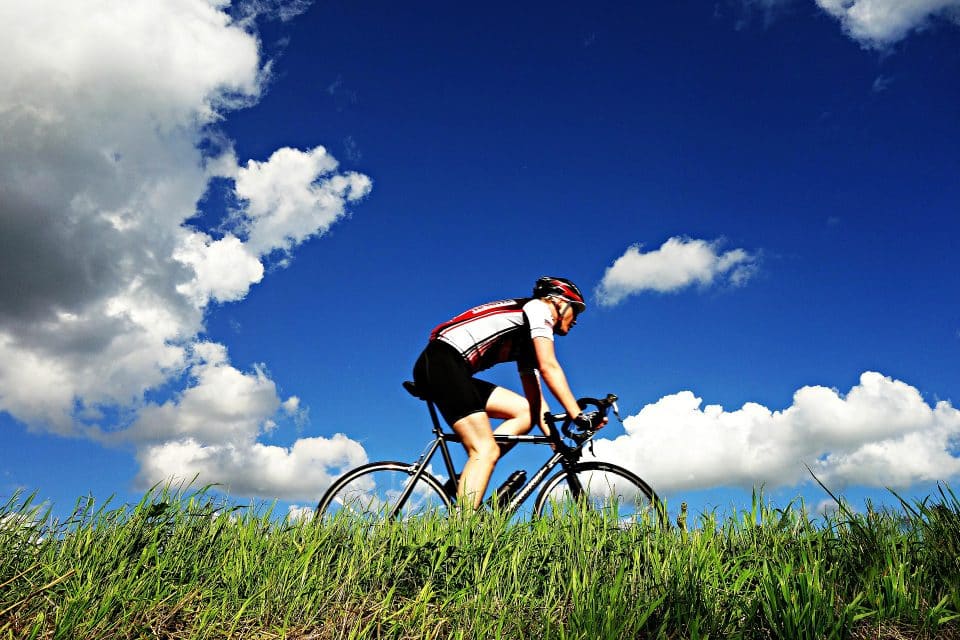
Use Your Eyes
Look at where you want to go, not where you don’t want to go. This sounds pretty simple I know, but it took me a painful succession of crashes when I was a beginner to realize that generally your bike will follow whatever you are looking at. If you look directly at the rock, tree or obstacle you want to avoid, there is a good chance you will hit it. Similarly don’t look at the bend of the corner, look at the exit. Seriously.. don’t worry about it, your periphery will do a good job of keeping you informed of where the hazards are without you having to stare at them.
In a similar vein, make sure you are looking far enough down the trail, to ensure you have time to deal with whatever the trail throws at you. 20 – 25 feet ahead is probably the ideal distance to look ahead to spot obstacles and choose and execute an appropriate line.
Learn To Brake Properly
Believe it or not, there is a correct technique to braking; brakes are not simply ‘on’ or ‘off’ as many people believe. There is a balance to be found between the correct pressure for the front and rear brakes, Too much pressure on the front brake and you risk flying over the handlebars (been there, done that!). Too much pressure on the rear brake and you may skid out of control (been there too!). The key to good braking lies in applying a light and consistent pressure on both front and rear brakes at the same time. The front brake has more braking power, (around 60%) so it is good to put marginally more pressure on the front brake.
Once you begin to get the hang of this, you should try to brake before the corner or obstacle, and then let your momentum carry you through.
Expect The Unexpected
You might have ridden the trail a thousand times, but this is the outdoors and its unpredictable. Sure, mountain biking is about going quick… but be prepared to stop. I have whizzed around corners to discover fallen trees blocking the trail, a wild horse in the way, and a crashed mountain biker lying down. On all occasions I was glad I had expected the unexpected and managed to stop in time. And so were the horse and the mountain biker!
✨The 1 Thing We Never Leave Home Without…✨

Coming from someone who has been traveling the world for the last 8 years AND has been in the hospital 2x, travel insurance is something everyone NEEDS to get. Get a quote below!
Essential Gear
A mountain bike… obviously. When you’re starting out, don’t let not having the perfect bike prevent you getting out on the trails. Even lower-budget mountain bikes will have wide, knobbly tyres and front suspension suitable for loose and uneven off-road surfaces, and will be okay for a beginner.
- Helmet
- Knee pads
- Elbow pads
- Eyewear protection; glasses, sunglasses or goggles.
- Gloves
- Water
- A multi-tool, spare inner tube, bike pump – With these three items, you will be able to remedy the majority of bike problems that befall you on the trail. Make sure you actually know how to use them as well though.
Read: Rearviz Mirror Gear Review
Planning Your Bike Route
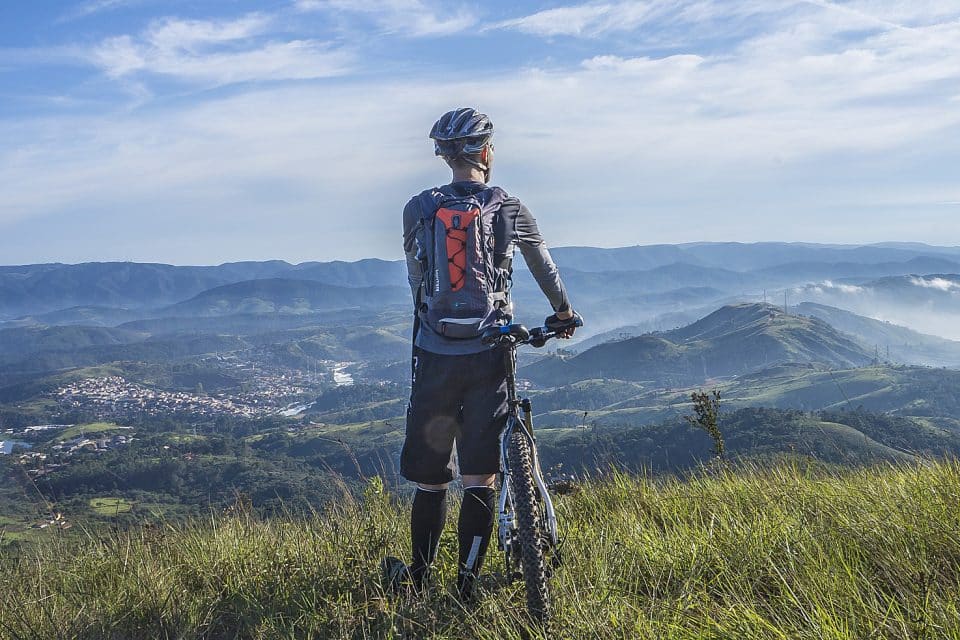
Use the colour-coded grading system (mentioned above) to choose which trails are within your ability level. For trails without gradings (and even those that do) it may be useful to ride slowly, or even walk it the first time, to learn the course and remove any potentially unpleasant surprises to allow you to ride more confidently and relaxed!
Check your bike. You don’t need to be a bike mechanic to quickly ensure everything is working properly before you throw yourself down a steep mountain slope. Give your brakes a squeeze and check that they work. Scan your bike for any cracks, dents or marks. Listen for unusual noises. 99% of the time everything will be okay, but you’ll be glad you checked the 1% of the time something is not quite right!
Arrange to ride with friends. Riding with friends is awesome. It’s more fun, considerably safer, and will improve your riding as you learn from them. I love the mountain biking community and enjoy learning learning new bike skills and trails from them, and making new friends to go for a beer with after a day on the bike.
Tell someone where you’re going. This is particularly important if riding alone. Should anything happen to you, it is great if there is someone who know where you are and can arrange help.
That’s it – you’ve now got all the information you need to go off and have a wild time on two wheels playing in the mud! These tips will accelerate your path to being an accomplished rider, and having loads of fun. But, just remember, if you get addicted to mountain biking… I warned you!
Interested in reading about our cycling adventure reviews? Check out the articles below
- Hiking and Biking in Chaing Mai Review
- Cycling on Koh Yao Noi Island, Thailand
- Mountain Biking from Mt. Batur to Ubud Bali
Inspired? Pin it!

