No one ever wants to think about losing all of their photos, especially of places like UNESCO World Heritage sites, the Great Wonders of the World, and other locations visited on your once-in-a-lifetime travels.
To make sure you never have to experience the loss of your pictures, it’s important to back up your photos regularly and in different locations. Here’s a guide on how you can back up your photos while traveling.
View Contents
Why Having a Backup of Your Photos is So Important
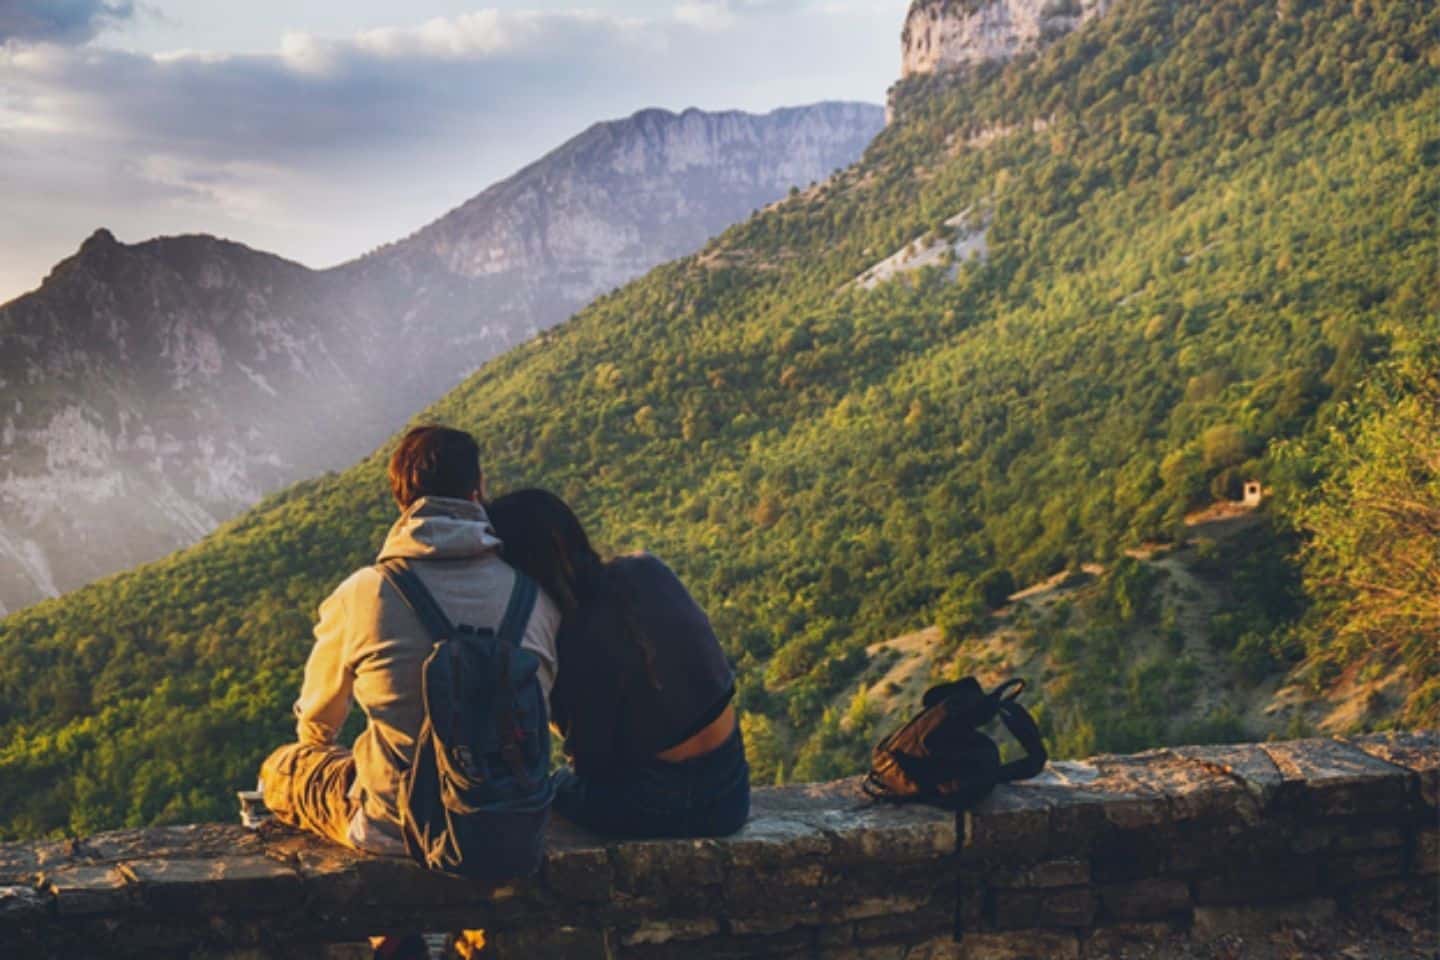
Let’s be real: the average traveler pours their heart and soul into getting perfect shots of every beautiful location they’re visiting.
Whether it’s that jumping picture on the Great Wall of China or that goofy one on the London Tube, taking photos is a huge part of traveling. Getting to share and relive your adventures through photos is half of the fun – plus, pics or it didn’t happen (just kidding, but you know what I mean).
What if you lost all of those photos? Did your stomach drop just thinking about it?
Because it has sadly happened to me. If you lose your camera or smartphone, all of your pictures will be gone, and nothing could be worse than that. That’s why backing up your photos is so important!
Backing up photos on the go is just as important as taking them because it ensures you’ll have them no matter what happens to your camera. Besides ensuring you’ll have your pictures, it also gives you access to them in different locations, making sharing and viewing them easier than ever.
Take my word on this, no matter what kind of traveler or photographer you are, you need to back up your photos.
✨The 1 Thing We Never Leave Home Without…✨

Coming from someone who has been traveling the world for the last 8 years AND has been in the hospital 2x, travel insurance is something everyone NEEDS to get. Get a quote below!
Top 3 Ways to Back Up Your Photos While On the Go
Here are three easy backup methods to ensure you always have access to your photos, no matter what happens.
Back Up on Cloud Storage
Cloud storage is a favorite among travelers and photographers alike. Not only does it safely store your photos, but it gives you the ability to access them from anywhere. Cloud storage is offered by a wide variety of providers, and picking the right one for you depends on what you need.
Most cloud storage services work in similar ways. For example, with Dropbox’s cloud storage, you have the option to access the service via the web (if you’re on your laptop) or through their app (if you’re using your smartphone).
If your photos are on your phone, simply download the relevant cloud storage app and then upload your photos to the cloud from there. You can also upload them from your laptop if you’ve already transferred your photos from your camera onto your computer.
After your photos are uploaded, you can access them from any internet browser, or associated application on your smartphone.
It’s simple as that!
Cloud storage is an awesome option if you’d like to easily collaborate with others or quickly share memories of your trip. Because your photos are stored in the cloud, you’re able to easily access them to save to your laptop or phone, or shoot a message to a loved one with the perfect picture attached.
Some cloud storage providers even allow you to directly upload your photos to social media. Talk about convenient!

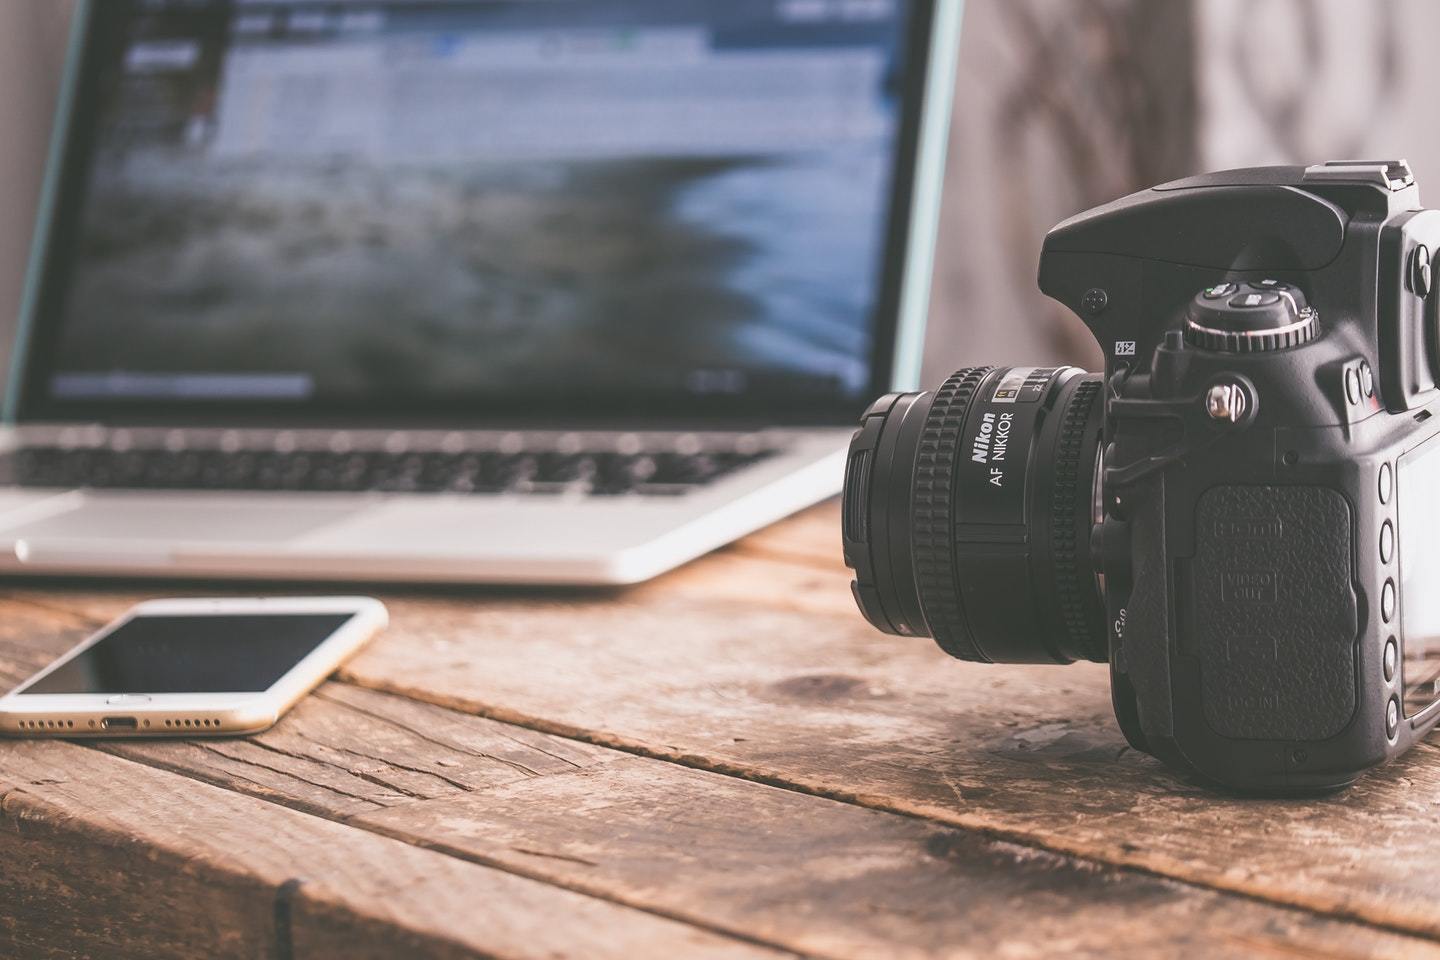
Transfer to Laptop
Besides cloud storage, you can also transfer your photos directly to your laptop. This is something you’ll need to do anyways if you plan on editing them, but if not, this is also a good way to store them for safekeeping.
Different computers and operating systems have different photo programs available for storage (most are free and come pre-downloaded on your computer), making this a pretty sound and cost-effective way to back up your photos.
To transfer photos to an external hard drive (which we’ll talk about next), you’ll also likely need to transfer them to your laptop first.
The downside to using your computer to back up your photos while traveling is you have to have your computer with you.
Some people prefer to leave their laptops at home while adventuring, especially on more rugged trips. So if you’re one of these people, you should probably stick to cloud storage for backing up photos on the go.
Save to an External Hard Drive
Finally, you can also back up your photos to an external hard drive.
There are tons of hard drive options, ranging from teeny tiny to pretty large and bulky. You can purchase them just about anywhere electronics are sold and they’re relatively inexpensive (for the most part).
As mentioned, to get your photos into an external hard drive, you typically have to upload them to your computer first and then transfer them to the hard drive.
You may be asking yourself, “why should I even use an external hard drive if my photos are already on my computer?”
Well, an external hard drive is super useful for backing up tons of photos or larger files that you may not want to pollute your computer with. Plus, when they’re on the hard drive, you can wipe them from your laptop, freeing up space for other things you may need!
The upside to putting all of your photos on an external hard drive is you don’t need an internet connection to access them. And if something (god forbid) happens to your computer, you’ll have your photos and other files safely stored on the drive.
That said, this means you’ll always need to have your hard drive on you if you want to grab your photos at a moment’s notice.
You’ve Backed Up Your Photos, Now What?
Okay, so you’ve finally backed up your photos, congratulations!
Now what?
Before getting rid of the originals on your smartphone or travel camera, be sure to double check that your photos are safely backed up. Try opening up a few photos you’ve backed up, and directly download them to make sure that you have access to your files.
This is important because if they haven’t backed up properly and you delete the originals, you can say goodbye to that killer shot of you with the Eiffel Tower forever.
Once you’ve ensured that your initial backup has worked properly, I recommend creating a second back up in another place.
This may sound crazy since you’ve just spent all that time watching your photos upload to one place, but just in case that first backup location fails or you don’t have access to it, it’ll be nice to have everything stored in a second place.
I personally have all of my photos in cloud storage so that I can pull them when I have internet access, but also on my laptop for quick editing. Better to be safe than sorry!
Finally, if you really want to get organized, you can create folders in your backup location to keep your photos separated and distinct from one another.
This is great for trips to different destinations or special events! Trust me, it makes life so much easier to know exactly which folder to look in instead of scrolling through thousands of pictures to find that one money shot.
Hopefully after reading this, you have a better handle on why backing up your pictures is so important and the different methods available to you.
No matter which method you choose, be sure to back up your pictures regularly. Make it part of your routine and you’ll never have to worry about photo loss again.
Happy shooting!
Disclaimer: This is a sponsored post for Dropbox. All opinions are my own. Dropbox is not affiliated with nor endorses any other products or services mentioned.
Looking for more travel tips? Read some of our articles
- Top 10 Tips for Those Traveling Alone for the First Time
- How to Get the Most from Vacation Package Deals
- Best Ways to Stay Connected While Travelling
Inspired? Pin it!